本文主要讲解如何在 VMware Worksataion 环境下基于 CentOS 7.9 安装 Cadence IC617。
本文所用到的软件资源,可单击此处下载,提取码为:njup。
安装 VMware Workstation
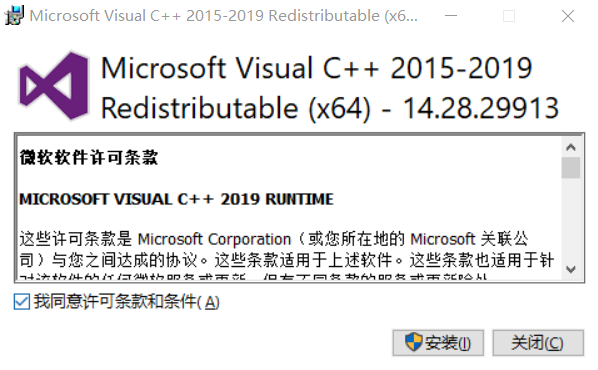
安装 Microsoft VC Redistributable
双击运行 VC_redist.x64.exe 文件,开始安装 Microsoft Visual C++ Redistributable for Visual Studio 2015, 2017 and 2019。
安装 Microsoft VC Redistributable
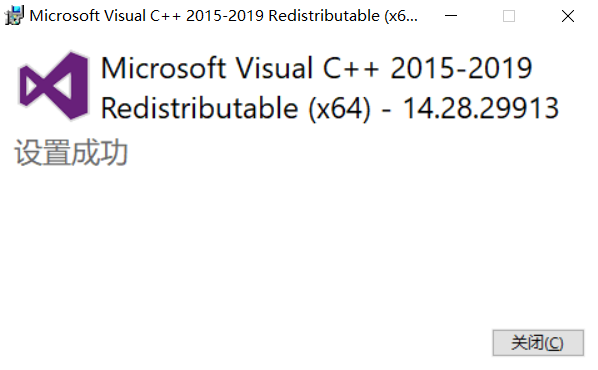
勾选“我同意许可条款和条件”后,单击“安装”。稍等片刻后,即可完成 Microsoft Visual C++ Redistributable for Visual Studio 2015, 2017 and 2019 的安装。
安装 Microsoft VC Redistributable
正式安装 VMware Workstation
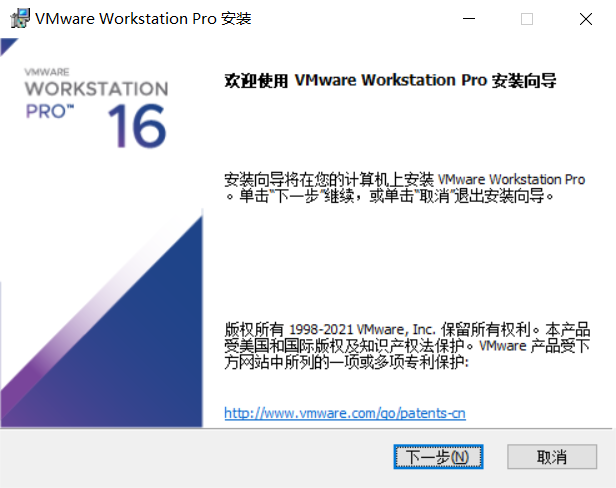
双击运行 VMware-workstation-full-16.1.1-17801498.exe 文件,开始安装 Vmware Workstation。
正式安装 VMware Workstation
单击“下一步”。
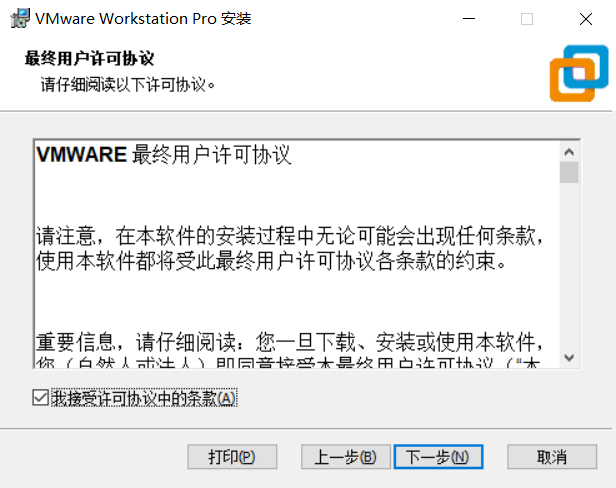
正式安装 VMware Workstation
勾选“我接受许可协议中的条款”,单击“下一步”。
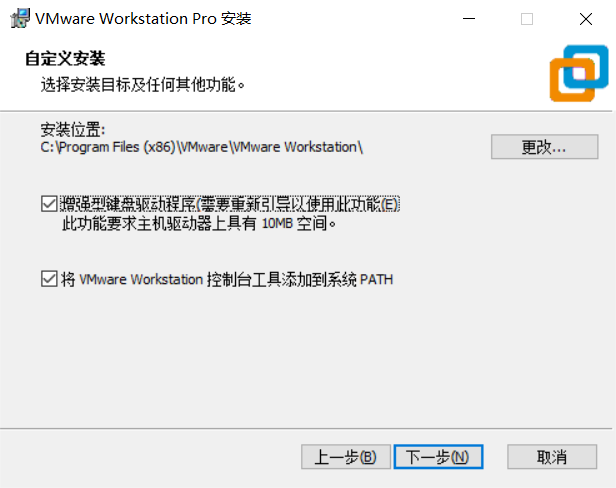
正式安装 VMware Workstation
配置“安装位置”,并勾选“增强型键盘驱动程序”,单击“下一步”。
正式安装 VMware Workstation
单击“下一步”,此处可根据自己的需求配置。
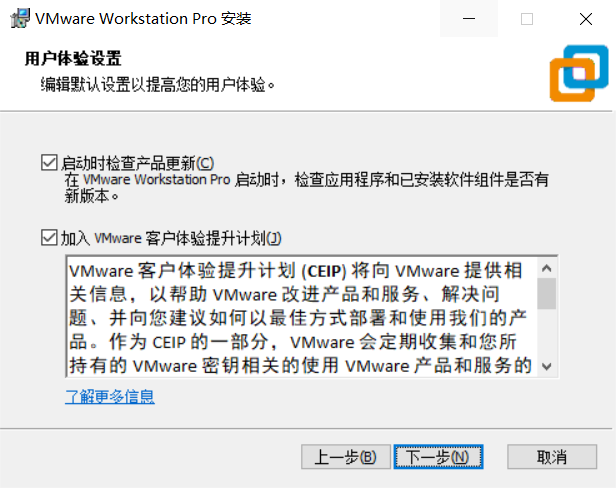
正式安装 VMware Workstation
单击“下一步”,此处可根据自己的需求配置。

正式安装 VMware Workstation
稍等片刻后,即可完成 Vmware Workstation 的安装。
正式安装 VMware Workstation
单击“许可证”,输入网络上找到的许可证后,单击“输入”。
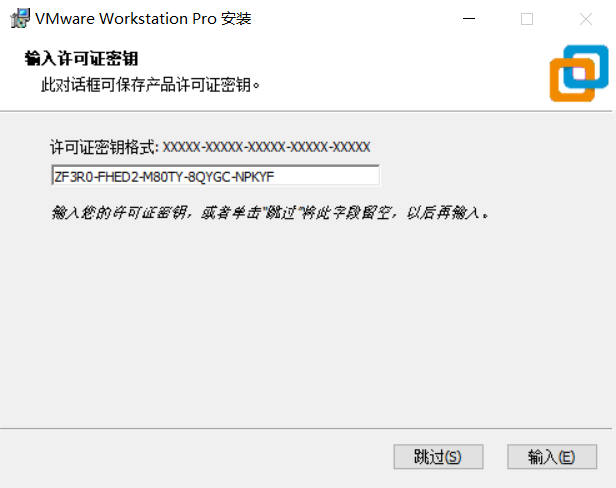
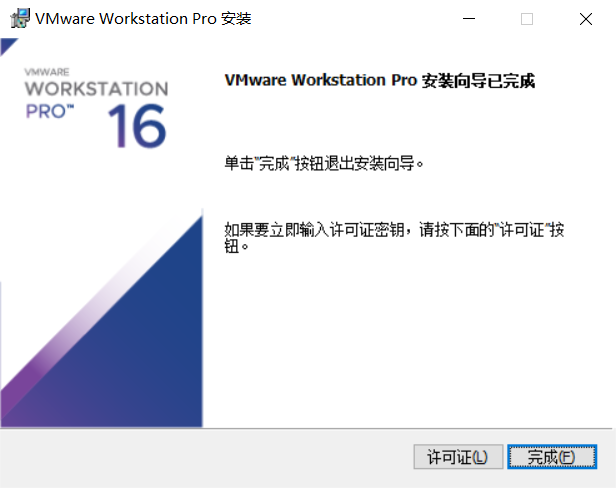
正式安装 VMware Workstation
单击“完成”。
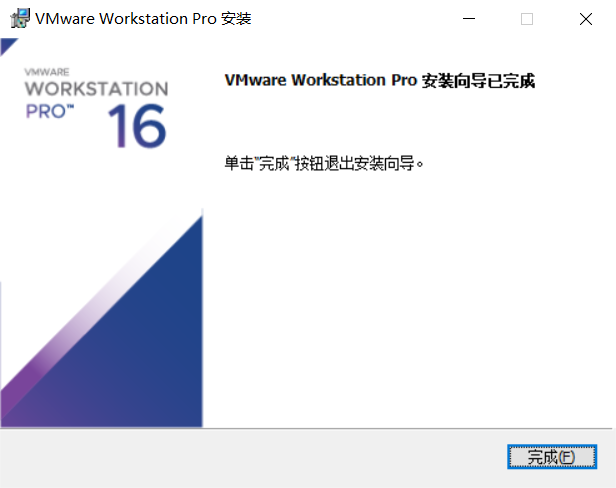
正式安装 VMware Workstation
安装程序提示重新启动操作系统,单击“是”。
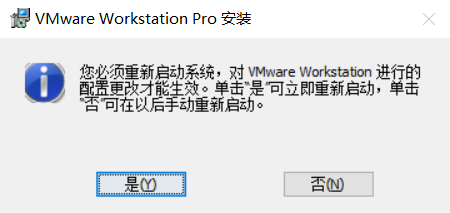
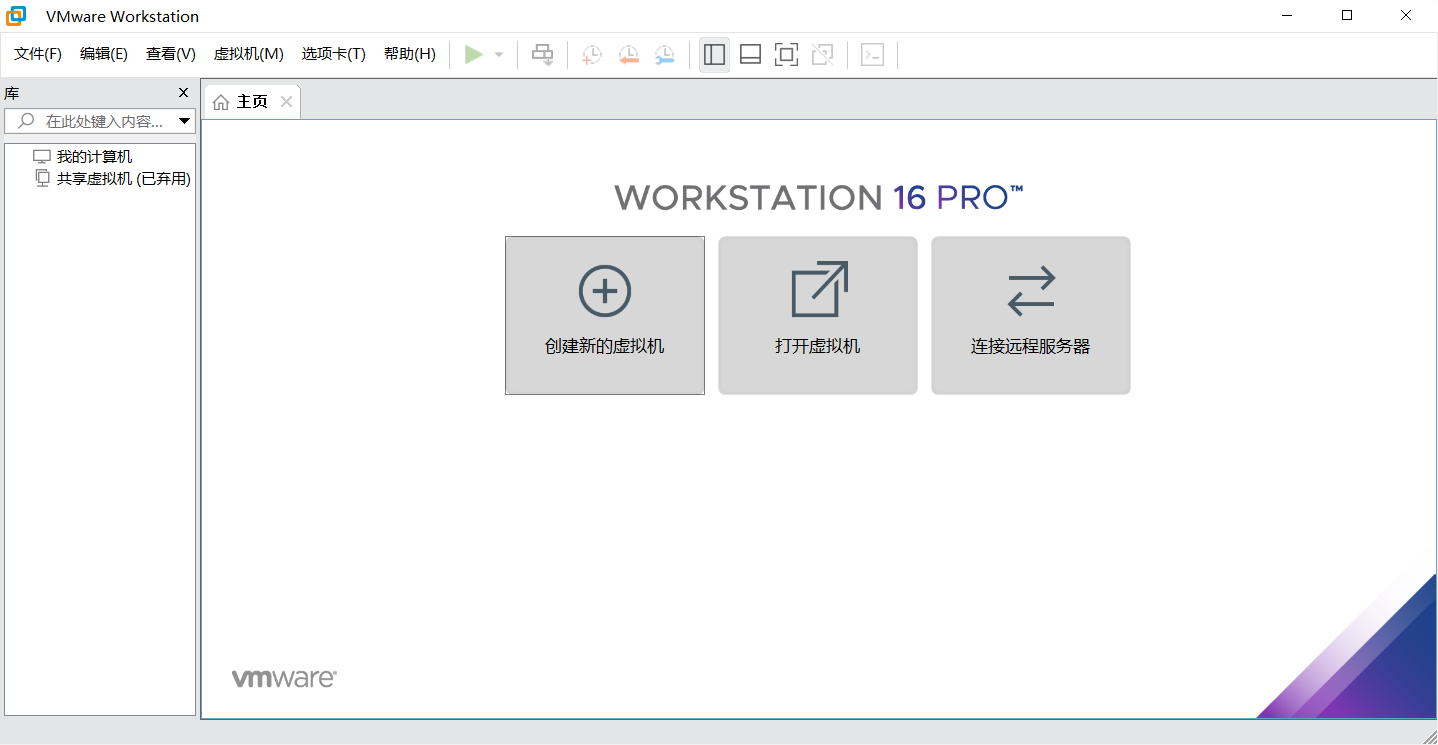
正式安装 VMware Workstation
至此,我们已经完成了 VMware WorkStation Pro 16 的安装。
安装 CentOS 7.9
配置 VMware WorkStation 虚拟机环境
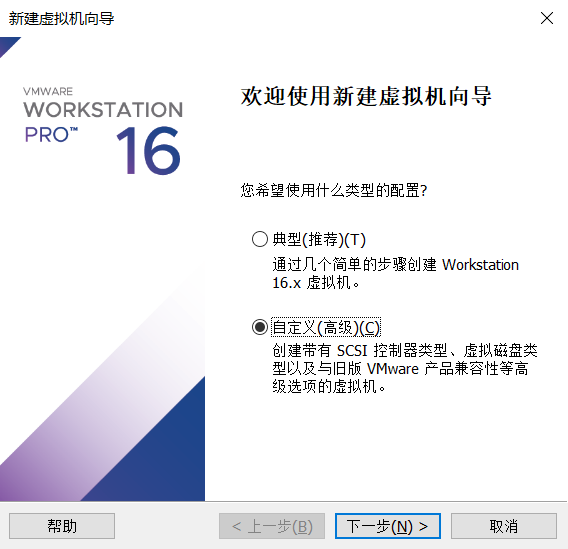
打开 VMware WorkStation Pro 16,单击“创建新的虚拟机”。
配置 VMware WorkStation 虚拟机环境
勾选“自定义(高级)”,并单击“下一步”。
配置 VMware WorkStation 虚拟机环境
保持默认设置,并单击“下一步”。
配置 VMware WorkStation 虚拟机环境
勾选“稍后安装操作系统”,并单击“下一步”。
配置 VMware WorkStation 虚拟机环境
在“客户机操作系统”栏中勾选“Linux”,并在“版本”栏中选择“CentOS 8 64位”,单击“下一步”。

配置 VMware WorkStation 虚拟机环境
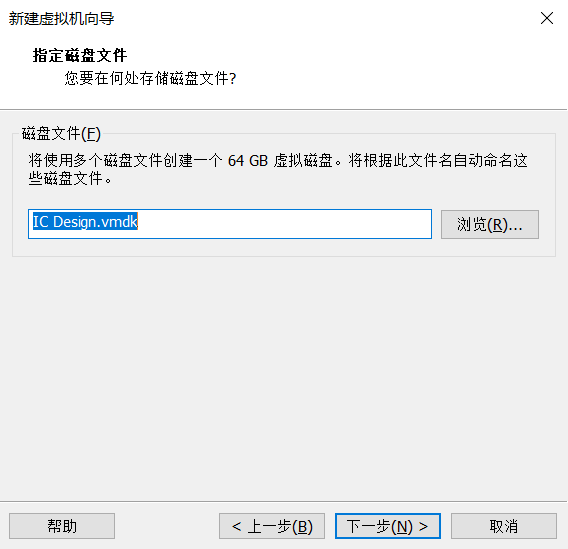
输入“虚拟机名称”,并设置虚拟机存储“位置”,单击“下一步”。
配置 VMware WorkStation 虚拟机环境
根据系统配置,设置“处理器数量”及“每个处理器的内核数量”,单击“下一步”。
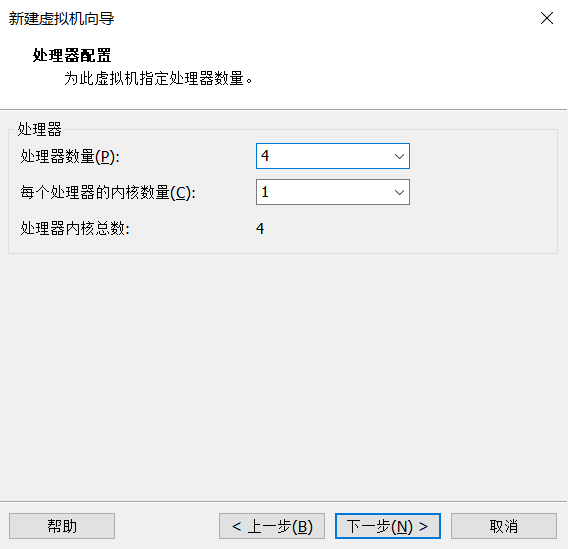
配置 VMware WorkStation 虚拟机环境
根据系统配置,设置“该虚拟机的内存”,单击“下一步”。
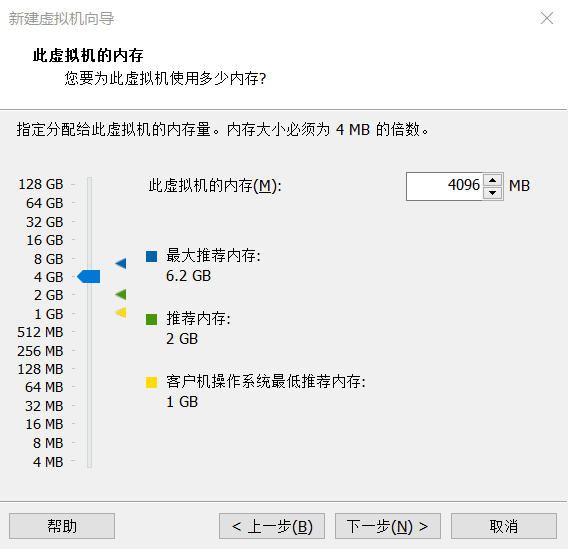
配置 VMware WorkStation 虚拟机环境
此处保持默认配置即可,单击“下一步”。
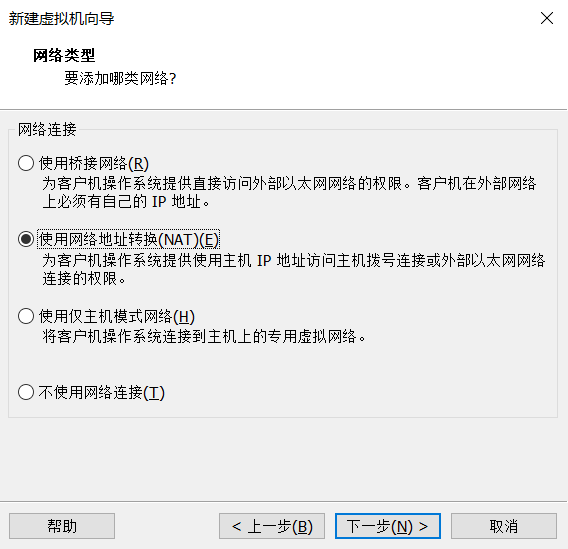
配置 VMware WorkStation 虚拟机环境
此处保持默认配置即可,单击“下一步”。
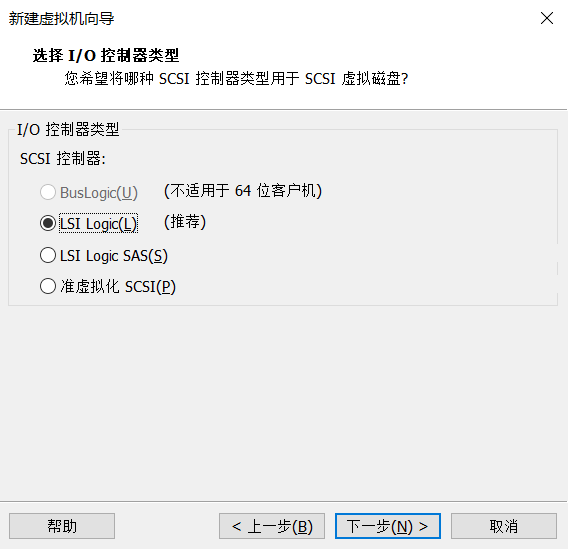
配置 VMware WorkStation 虚拟机环境
此处保持默认配置即可,单击“下一步”。
配置 VMware WorkStation 虚拟机环境
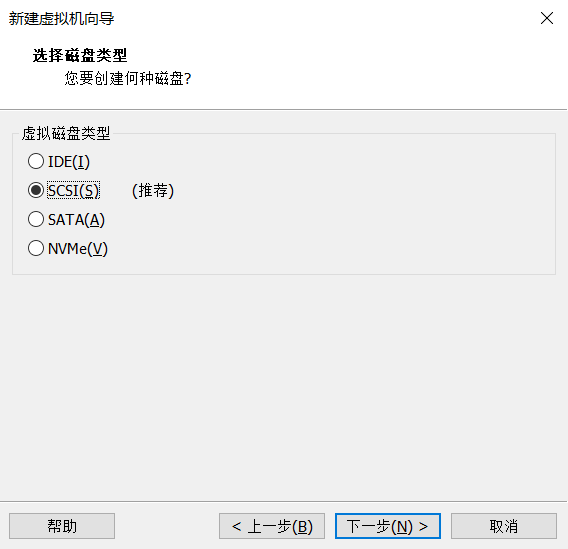
此处保持默认配置即可,单击“下一步”。
配置 VMware WorkStation 虚拟机环境
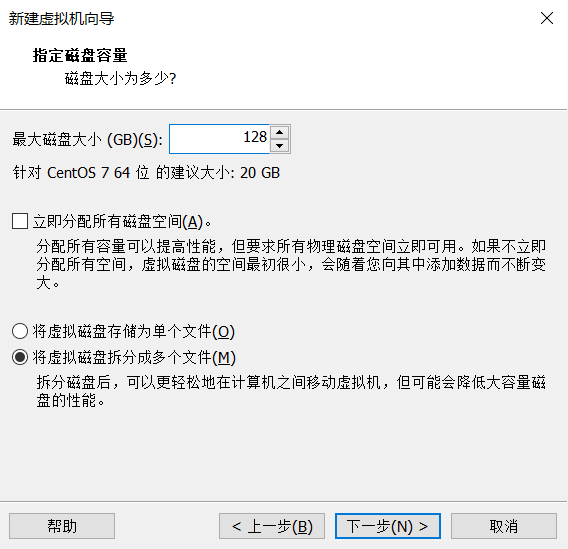
将“最大磁盘大小”调整为“128 GB",以确保 Cadence IC617 能正常使用。其余选项保持默认配置即可,单击“下一步”。
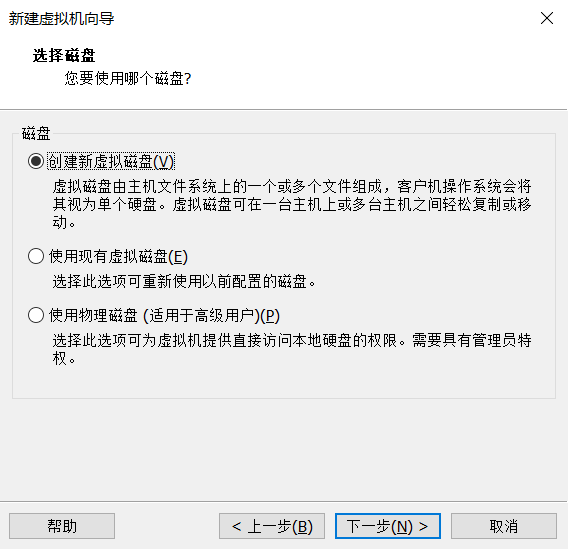
配置 VMware WorkStation 虚拟机环境
此处保持默认配置即可,单击“下一步”。
配置 VMware WorkStation 虚拟机环境
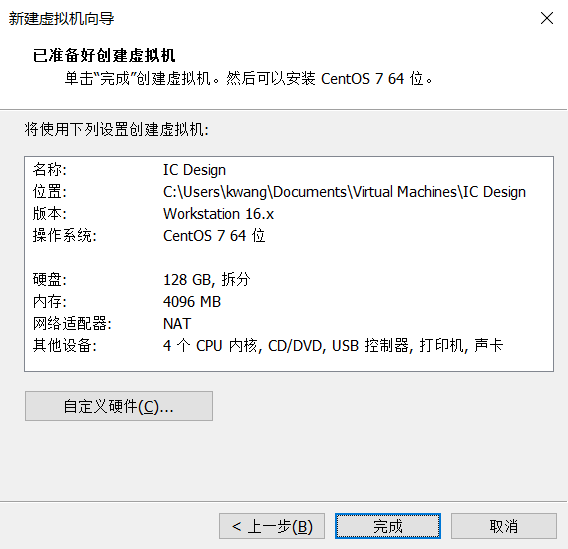
此处为虚拟机设置的摘要页面,单击“完成”。
配置 VMware WorkStation 虚拟机环境
正式安装CentOS 7.9
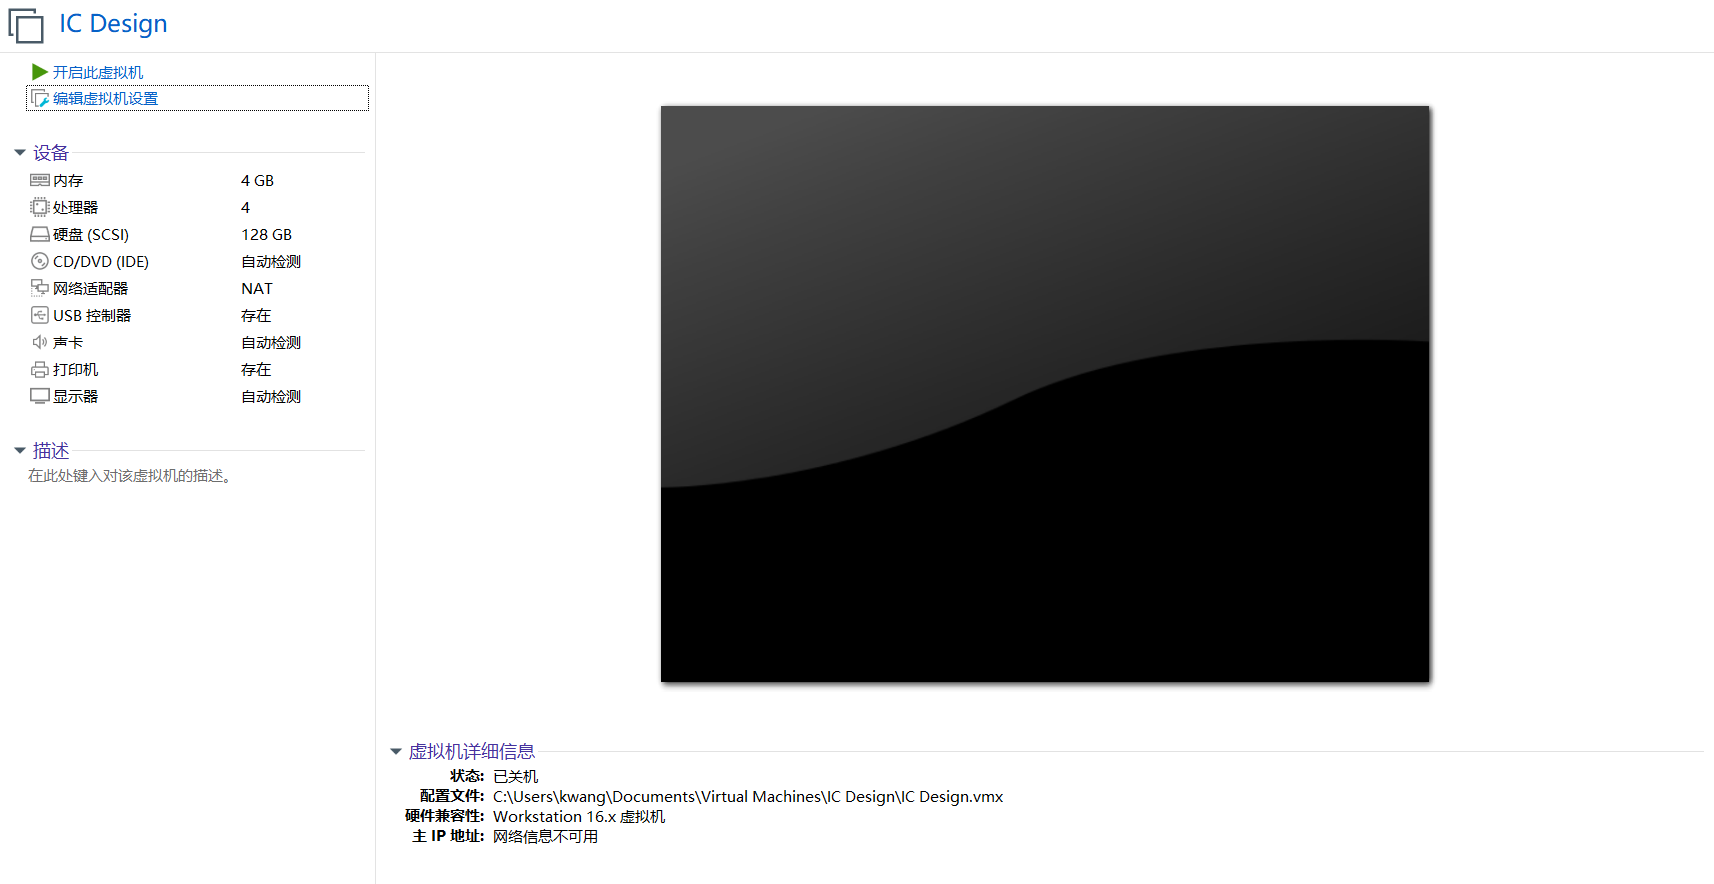
此时,我们已经成功创建了名为“IC Design”的虚拟机环境,单击“编辑虚拟机设置”。
正式安装CentOS 7.9
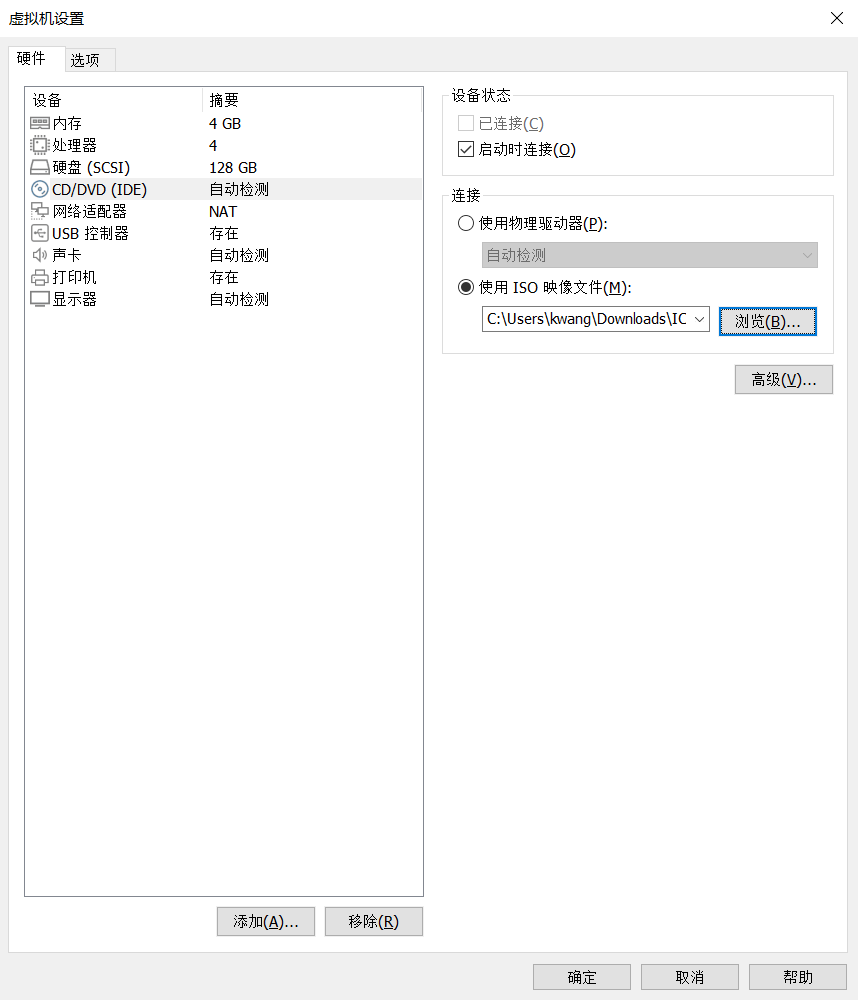
在“硬件”选项卡中单击“CD/DVD (SATA)”,在右侧勾选“使用ISO映像文件”,并单击“浏览”打开 CentOS 7.9 安装文件 CentOS-7-x86_64-Everything-2009.iso,最后单击“确定”。
正式安装CentOS 7.9
单击“开启此虚拟机”。

正式安装CentOS 7.9
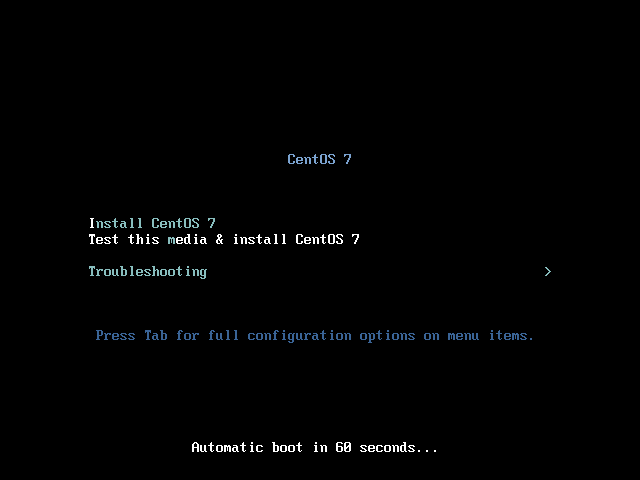
首先单击左下角的“×”以关闭黄色提示框,此时屏幕中央出现三个选项,分别为:
- Install CentOS 7
- Test this media & install CentOS 7
- Troubleshooting
我们单击屏幕中央以进入虚拟机操作模式(按 Ctrl + Alt 可退出虚拟机操作模式),选中第一项,并按下回车键。
正式安装CentOS 7.9
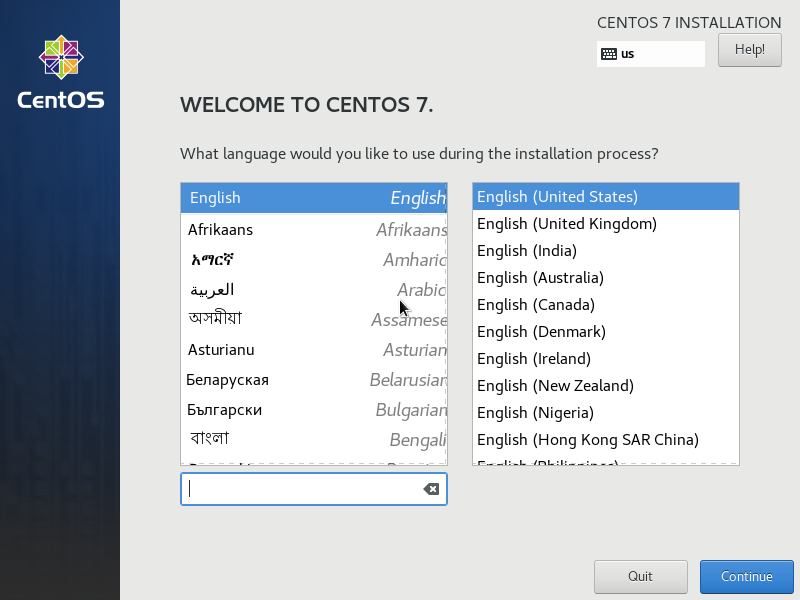
稍等片刻,即可看到 CentOS 7.9 的安装界面。保持默认设置,单击“Continue”。
正式安装CentOS 7.9
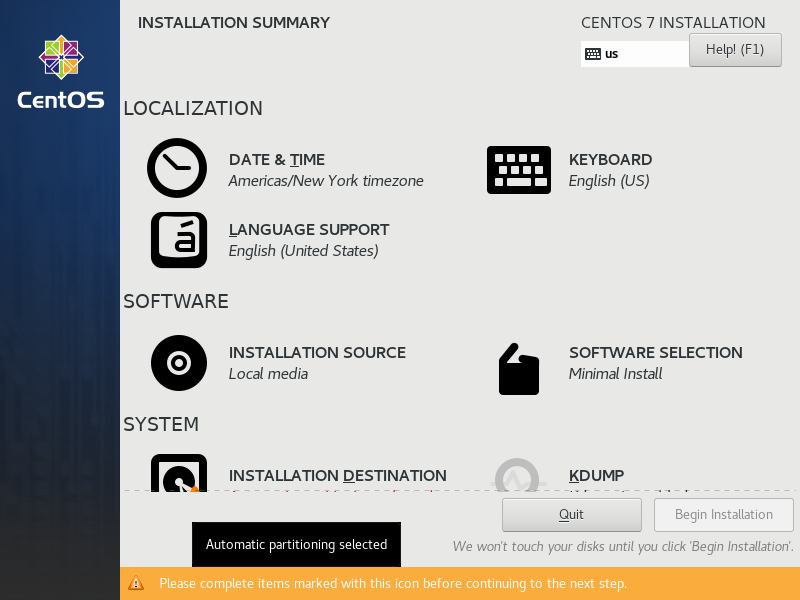
单击“DATE & TIME”。
正式安装CentOS 7.9
在“Region”和“City”下拉框中分别选择“Asia”和“Shanghai”,并将时间调整为系统时间,单击“Done”。

正式安装CentOS 7.9
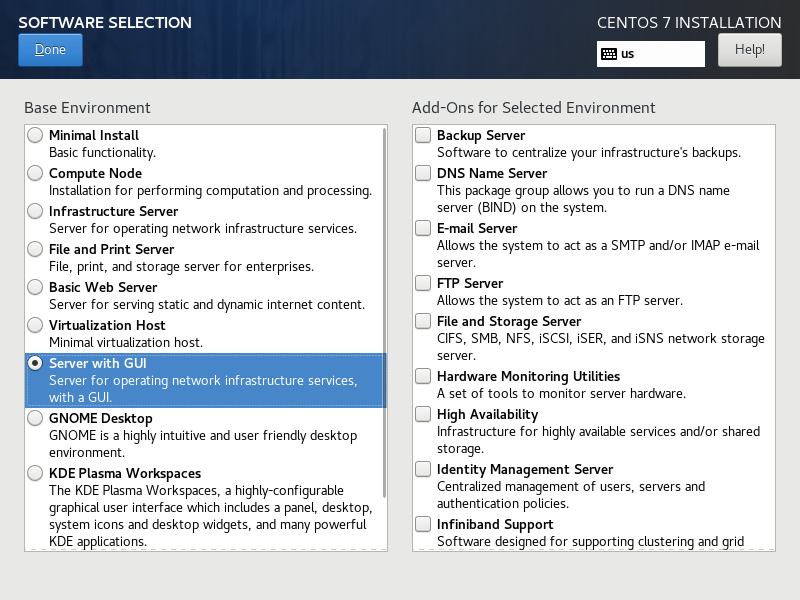
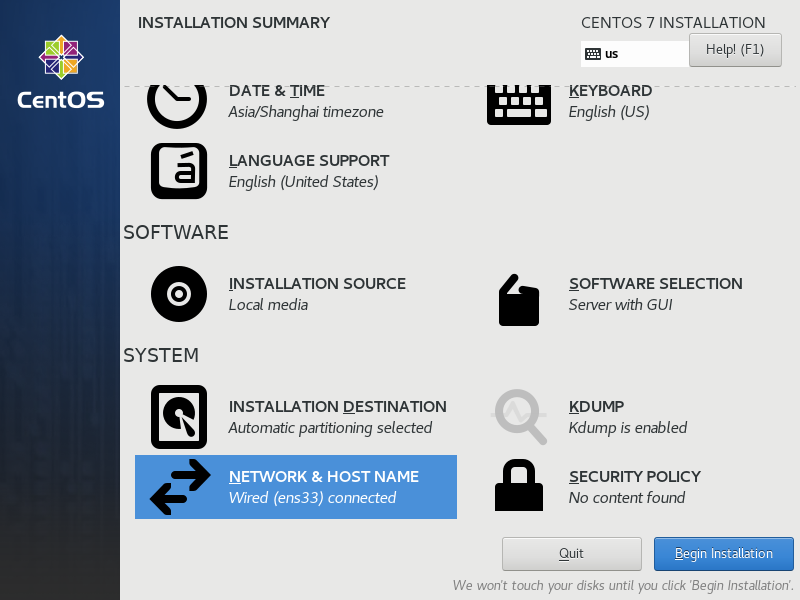
单击“SOFTWARE SELECTION”,在左侧“Base Environment”中选中“Server with GUI”,单击“Done”。
正式安装CentOS 7.9
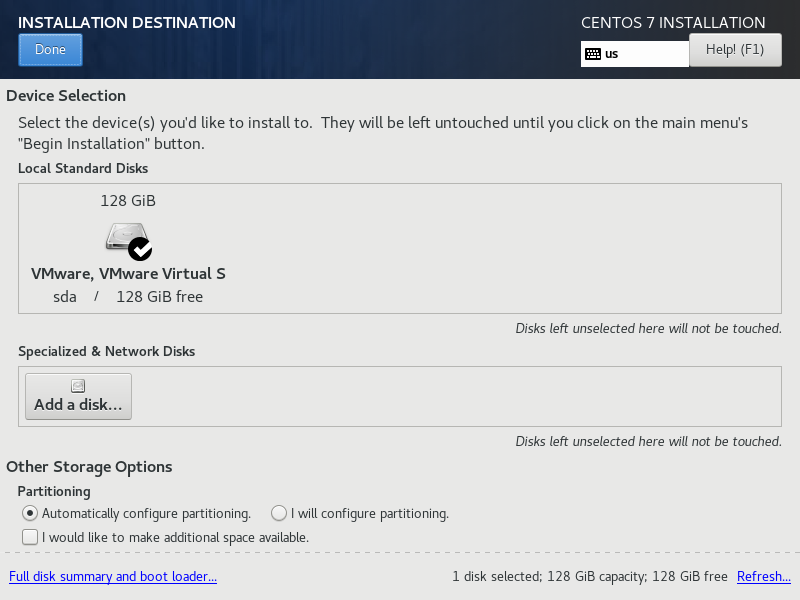
单击“INSTALLATION DESTINATION”,单击“Done”。
正式安装CentOS 7.9
单击“NETWORK & HOST NAME”,将“Ethernet”调整为“ON”,单击“Done”。
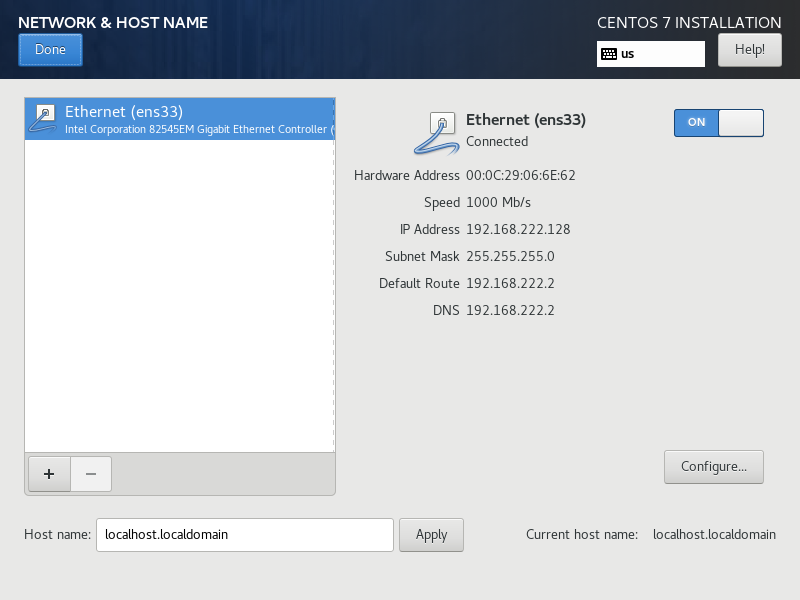
正式安装CentOS 7.9
单击“Begin Installation”。
正式安装CentOS 7.9
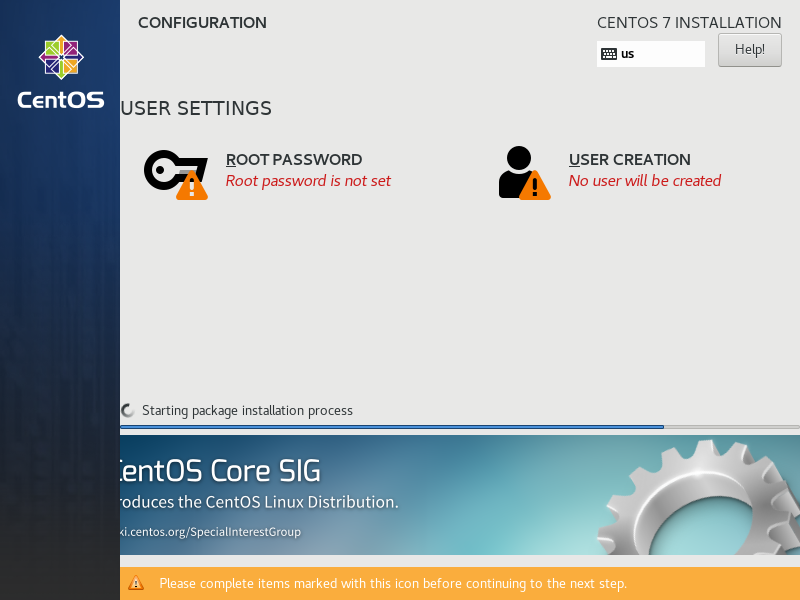
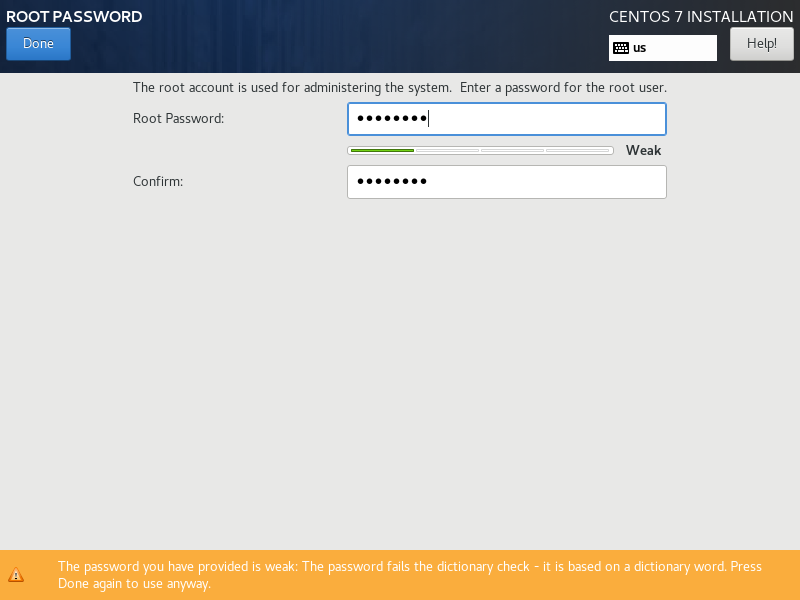
单击“ROOT PASSWORD”。
正式安装CentOS 7.9
在“Root Password”和“Confirm”中输入密码“icdesign”,单击“Done”。
正式安装CentOS 7.9
单击“USER CREATION”,在“Full name”、“User name”、“Password”和“Confirm password”中均输入“icdesign”,单击“Done”。

正式安装CentOS 7.9
稍等片刻,即可完成CentOS 7.9的安装,单击“Reboot”。
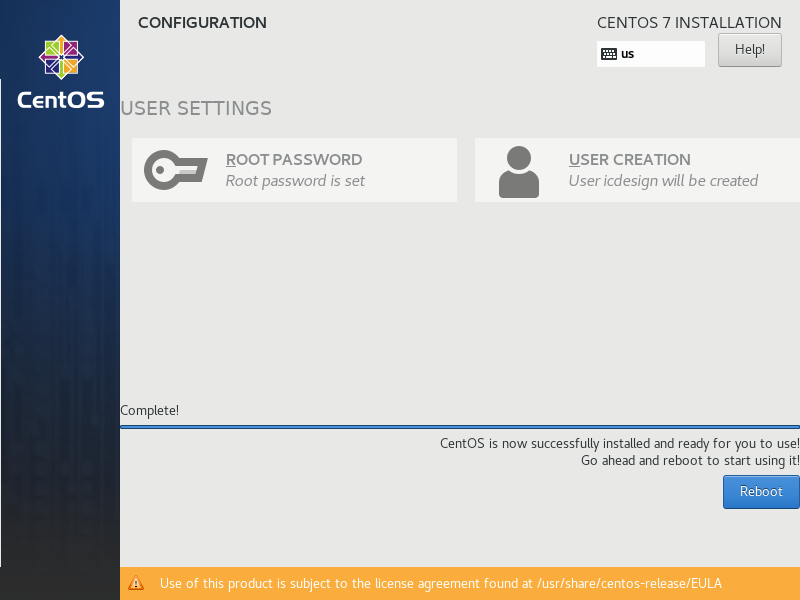
正式安装CentOS 7.9
稍等片刻,单击“LICENSE INFORMATION”。
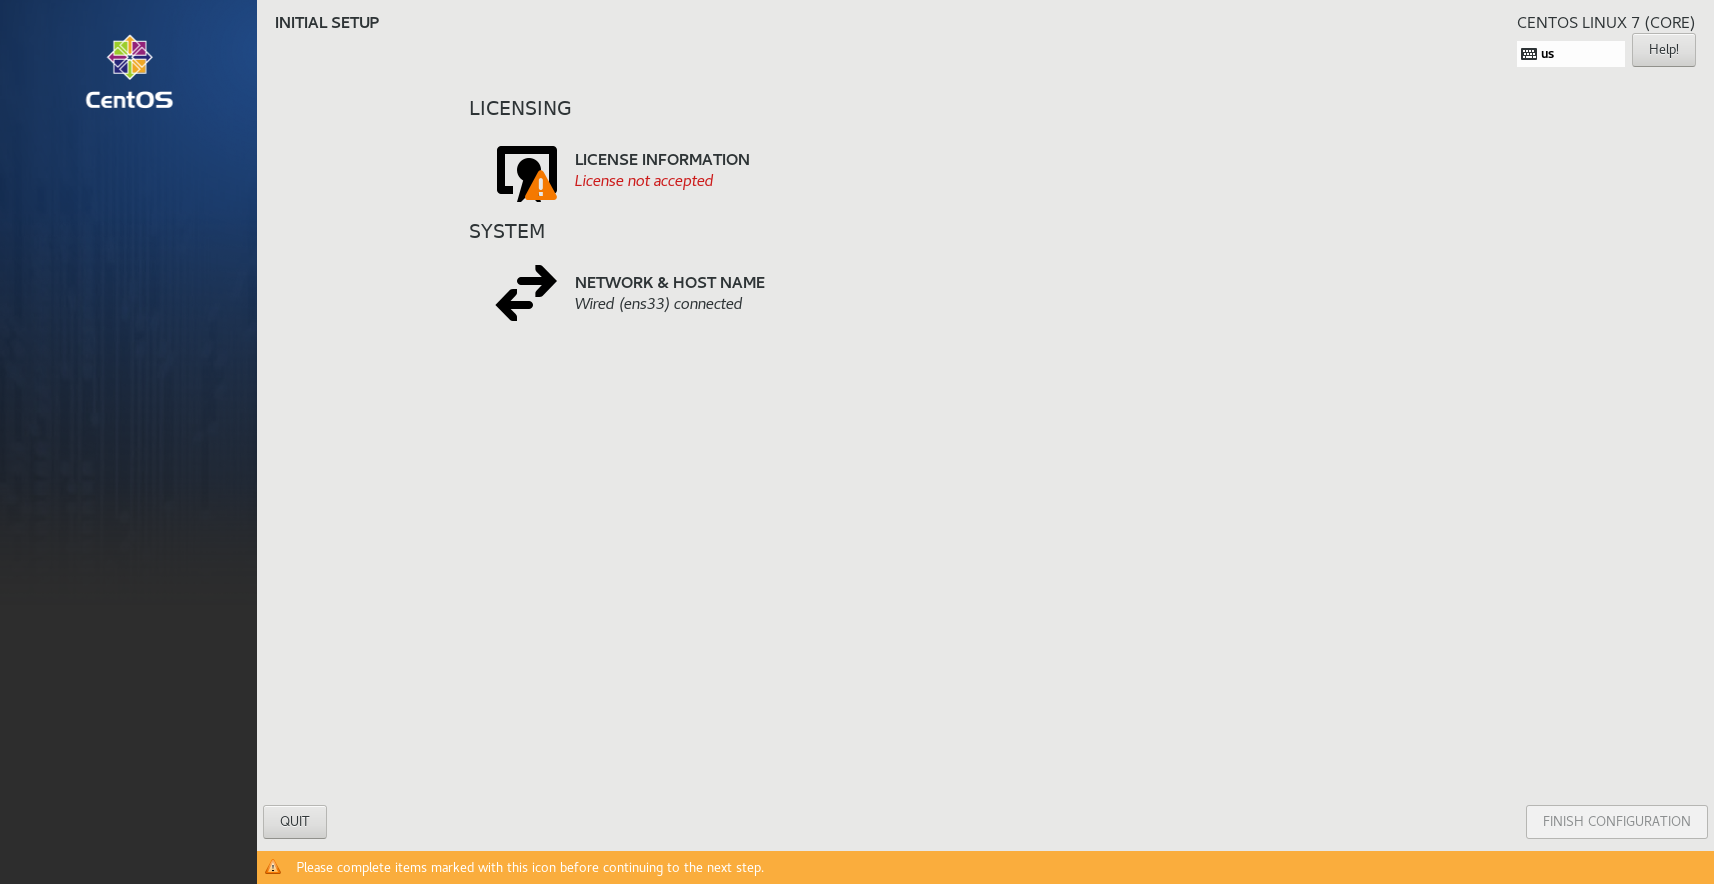
正式安装CentOS 7.9
勾选“I accept the license agreement.”,单击“Done”。
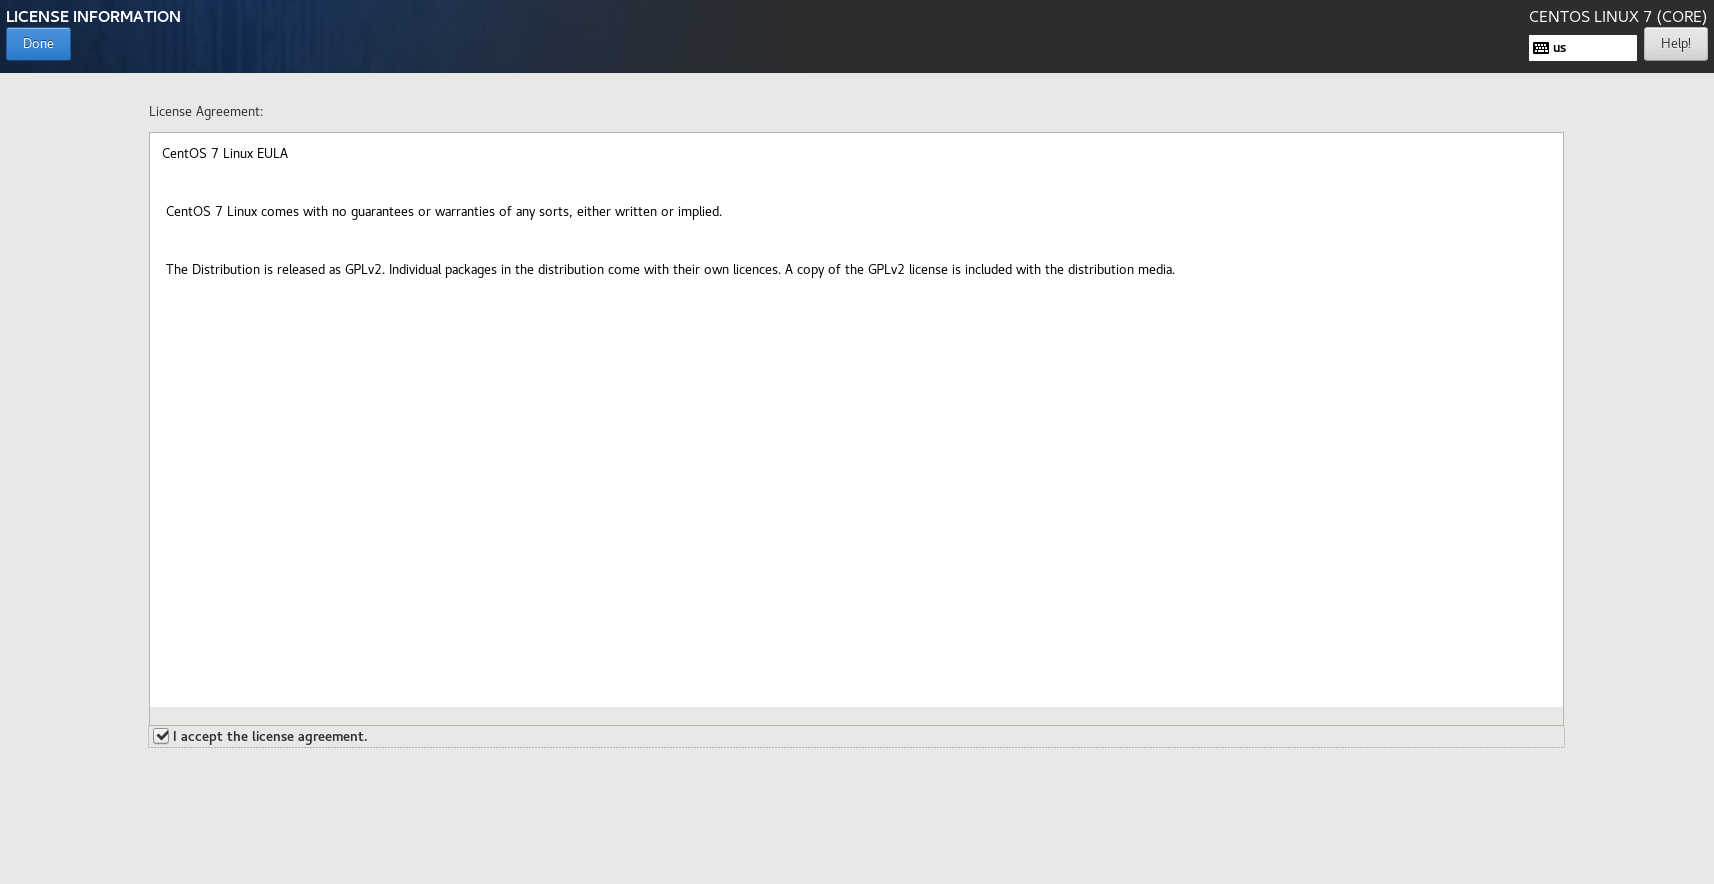
正式安装CentOS 7.9
单击“Finish Configuration”。
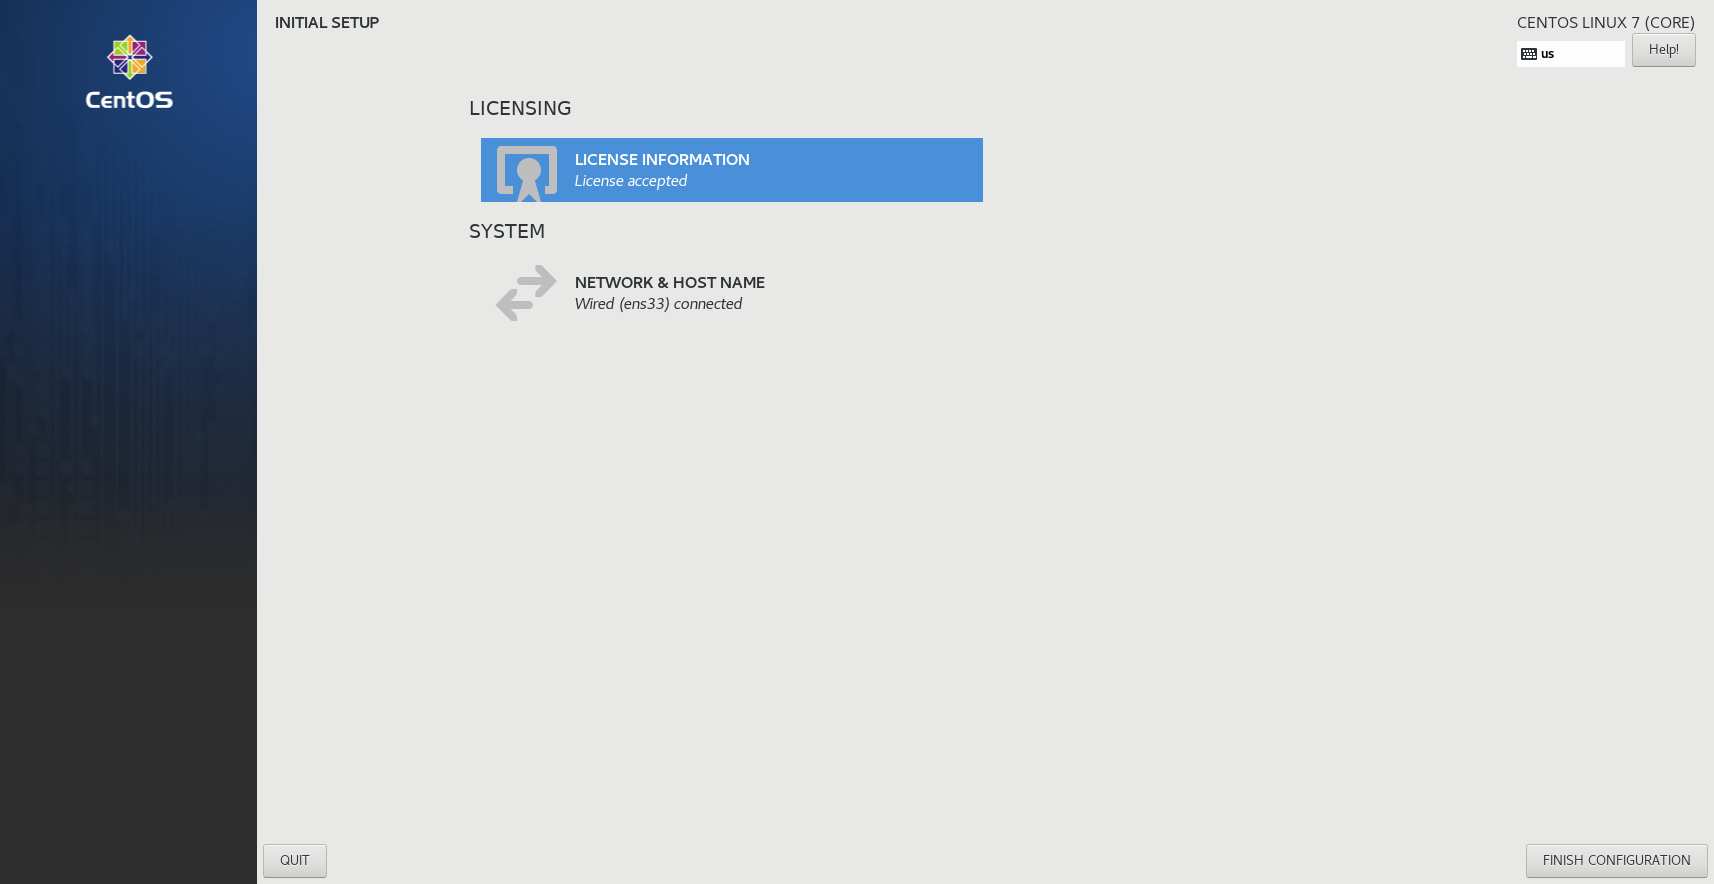
正式安装CentOS 7.9
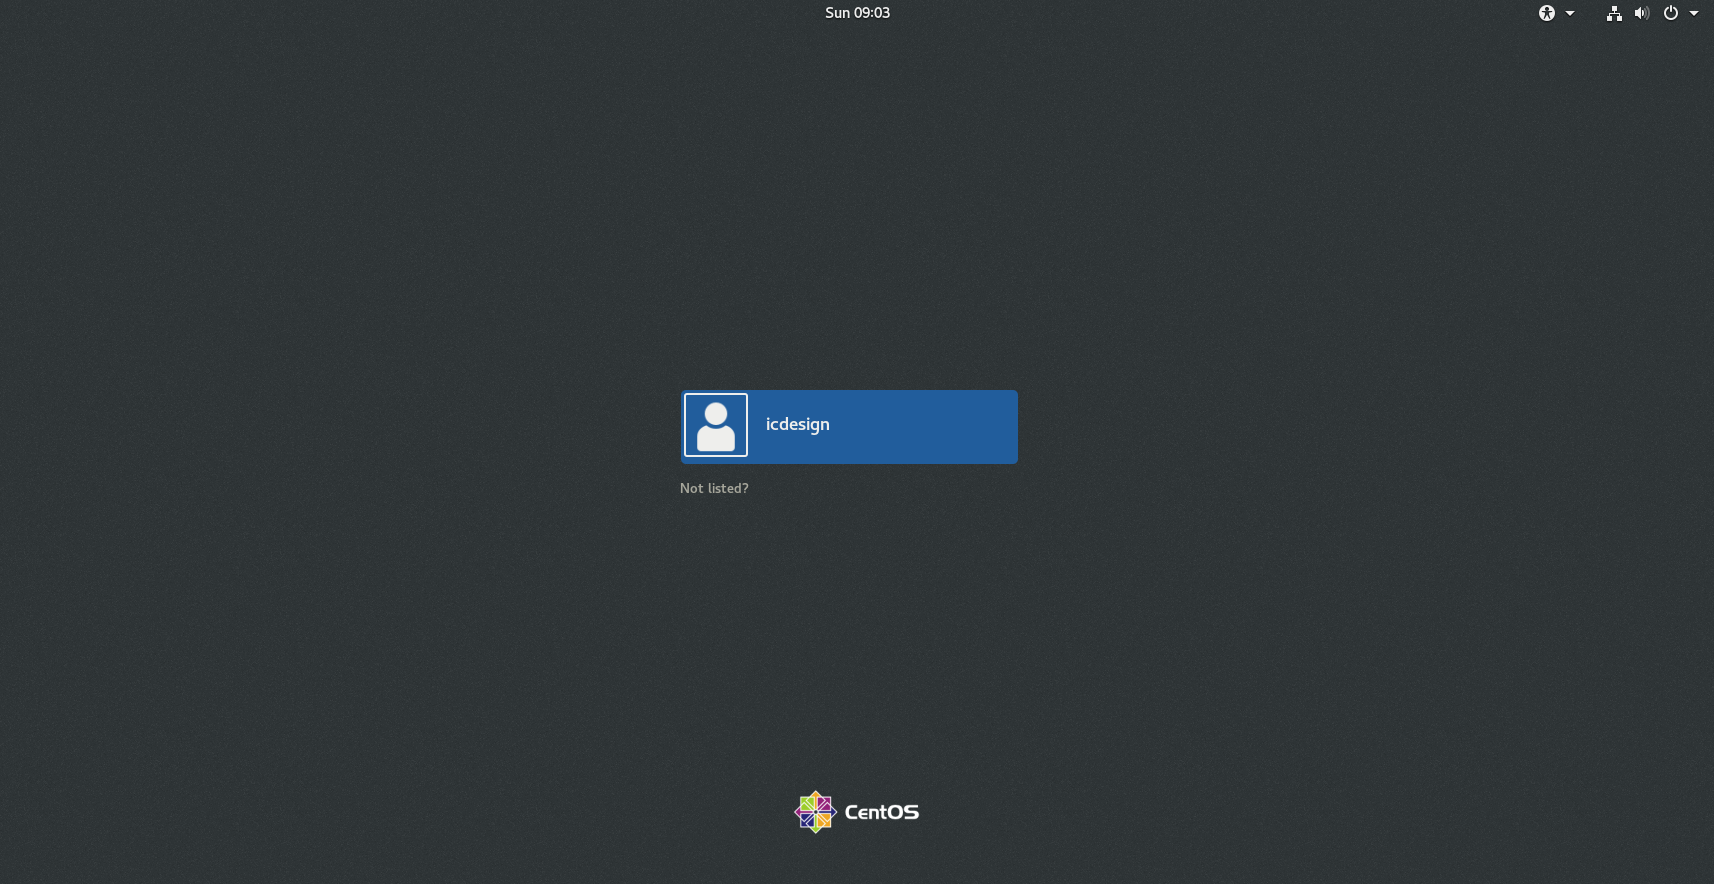
单击“icdesign”。
正式安装CentOS 7.9
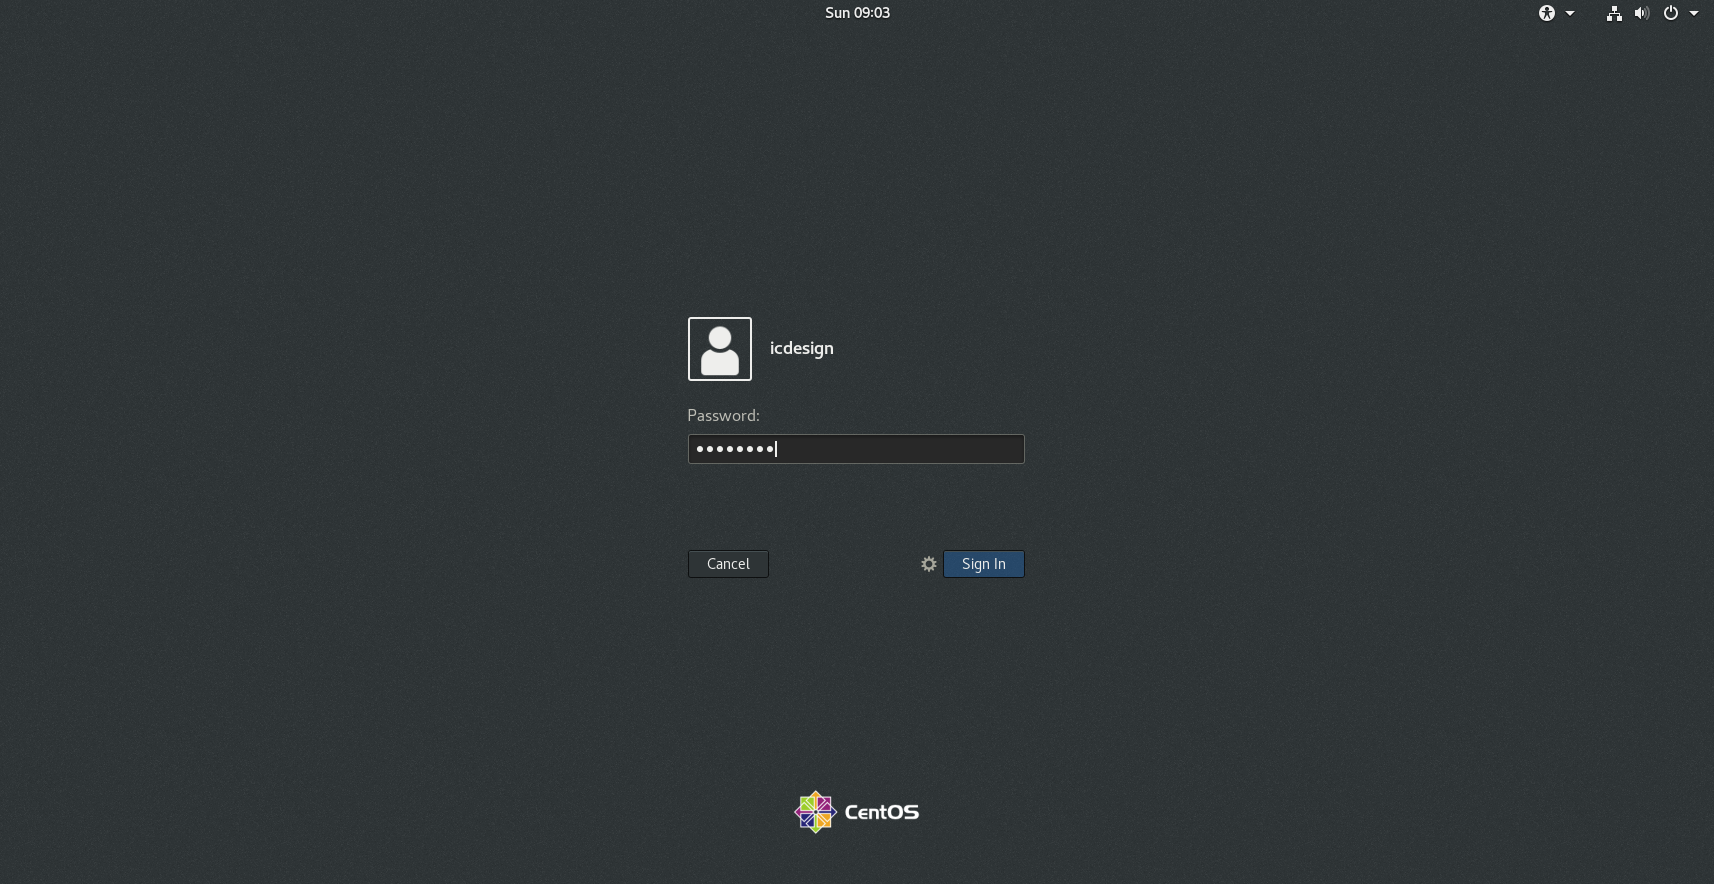
输入密码,单击“Sign In”。
正式安装CentOS 7.9
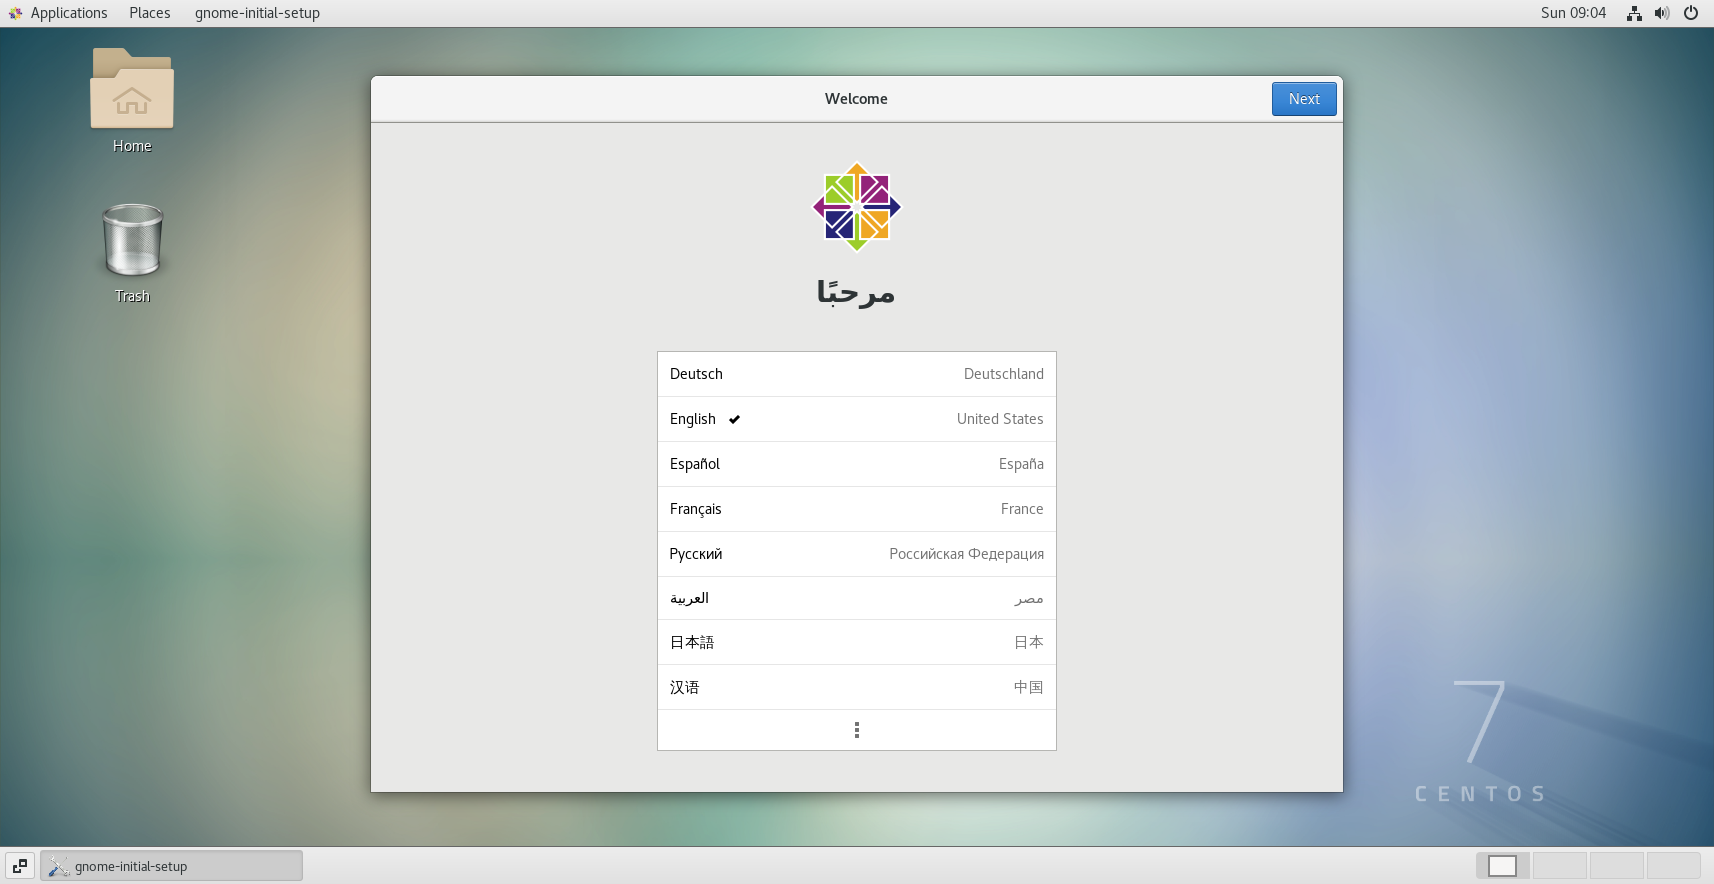
单击“Next”。
正式安装CentOS 7.9
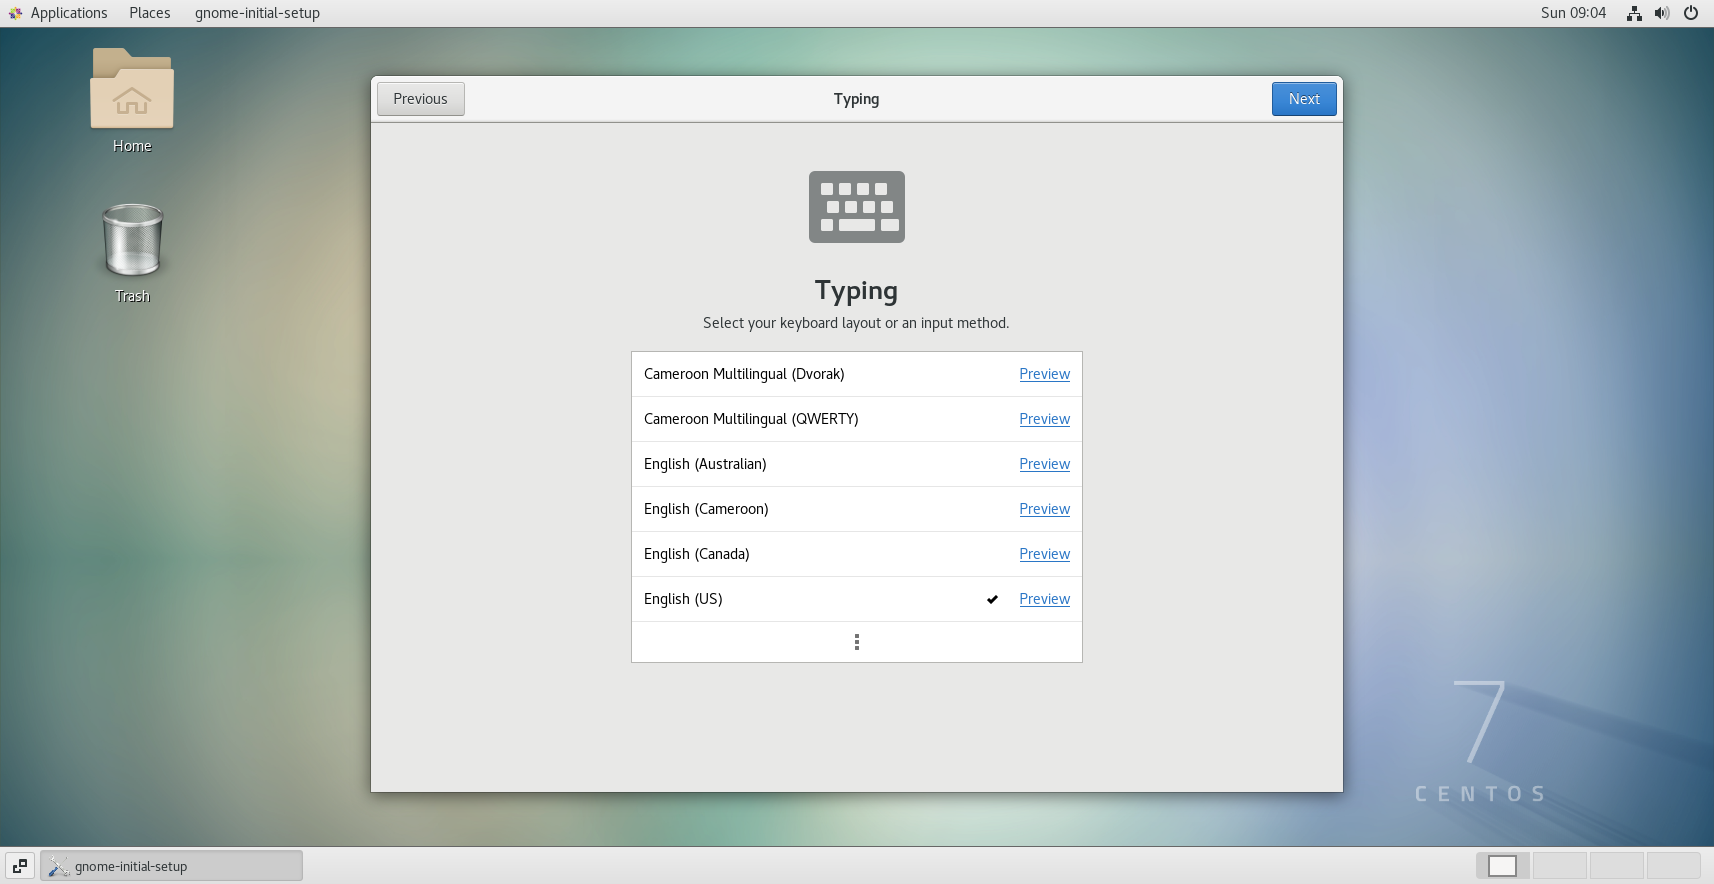
单击“Next”。
正式安装CentOS 7.9
单击“Next”。

正式安装CentOS 7.9
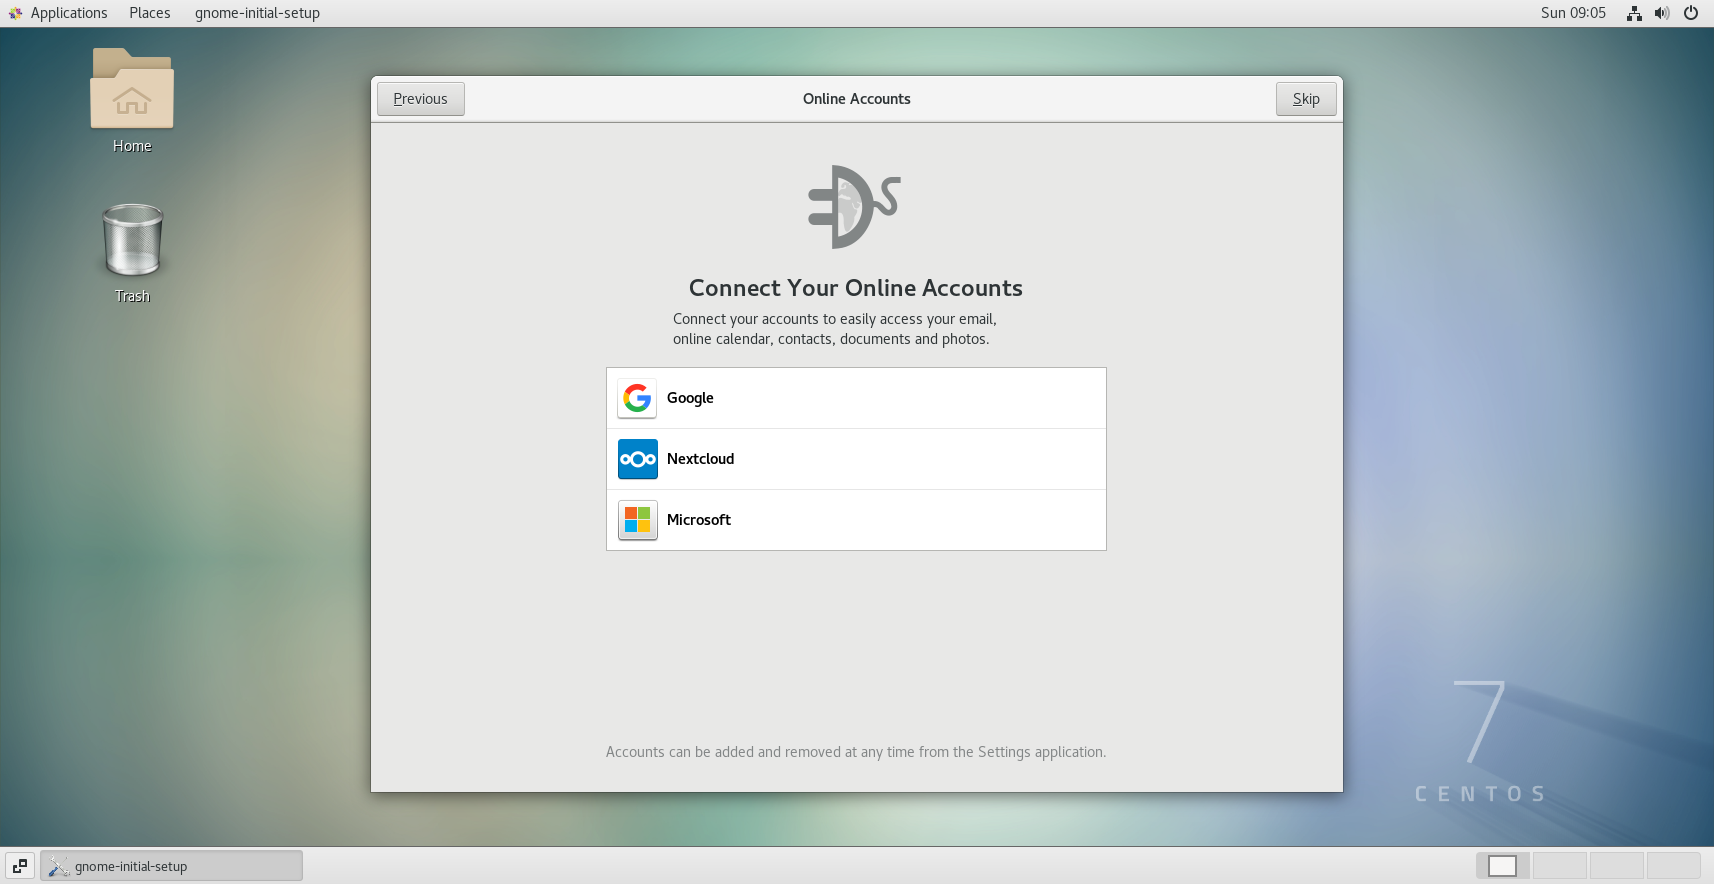
单击“Skip”。
正式安装CentOS 7.9
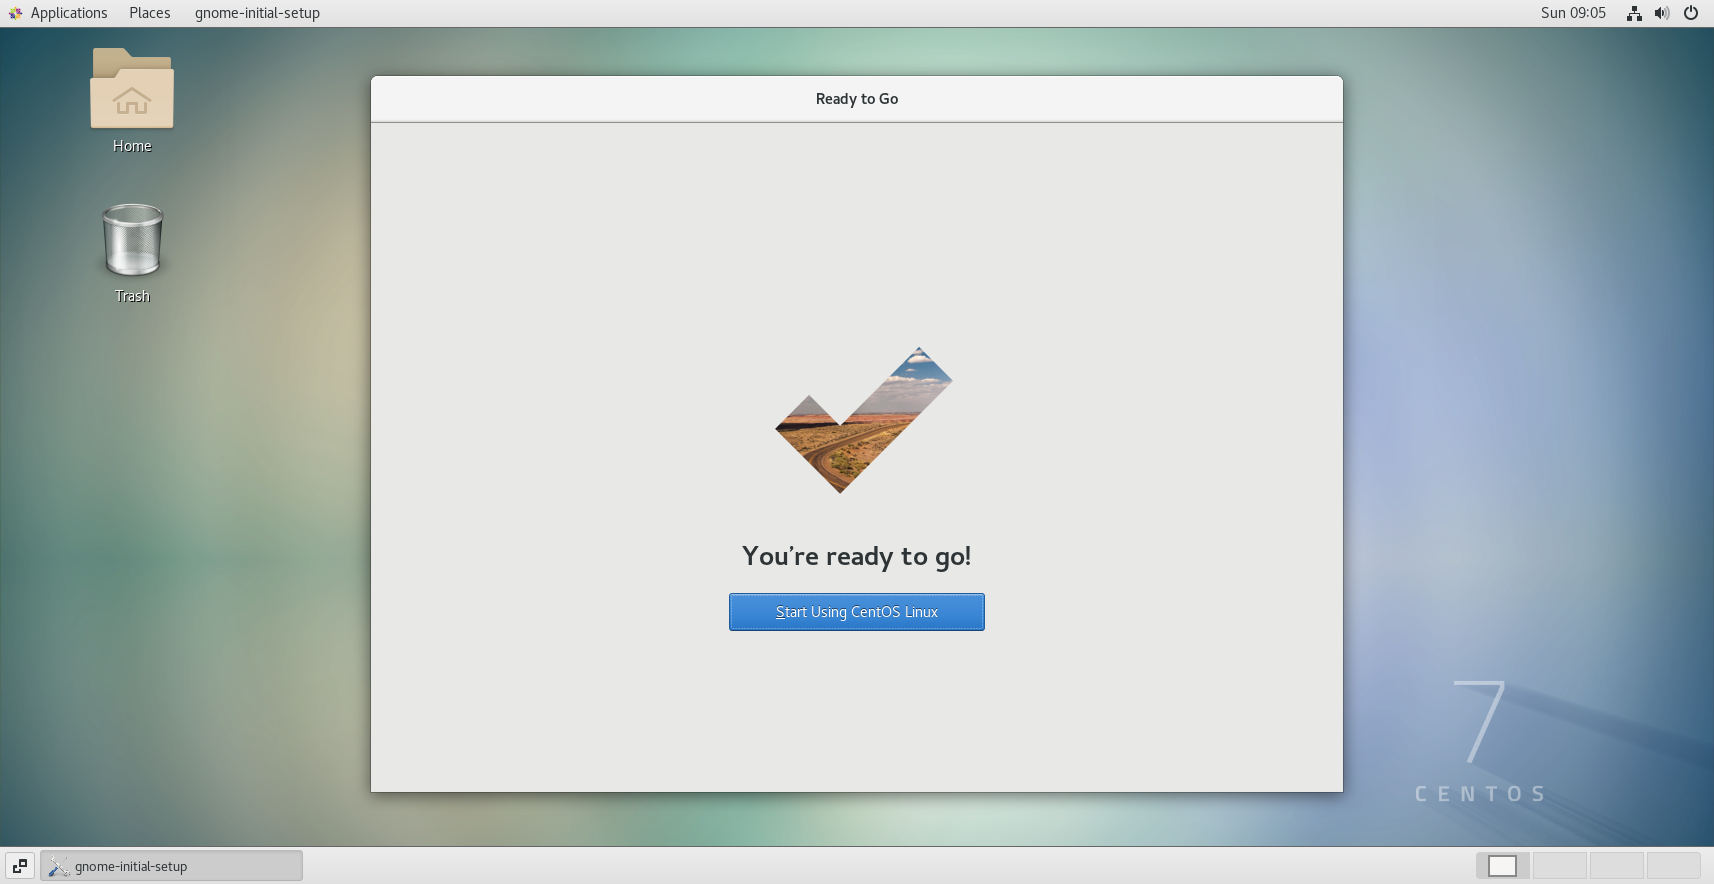
单击“Starting Using CentOS Linux”。
正式安装CentOS 7.9
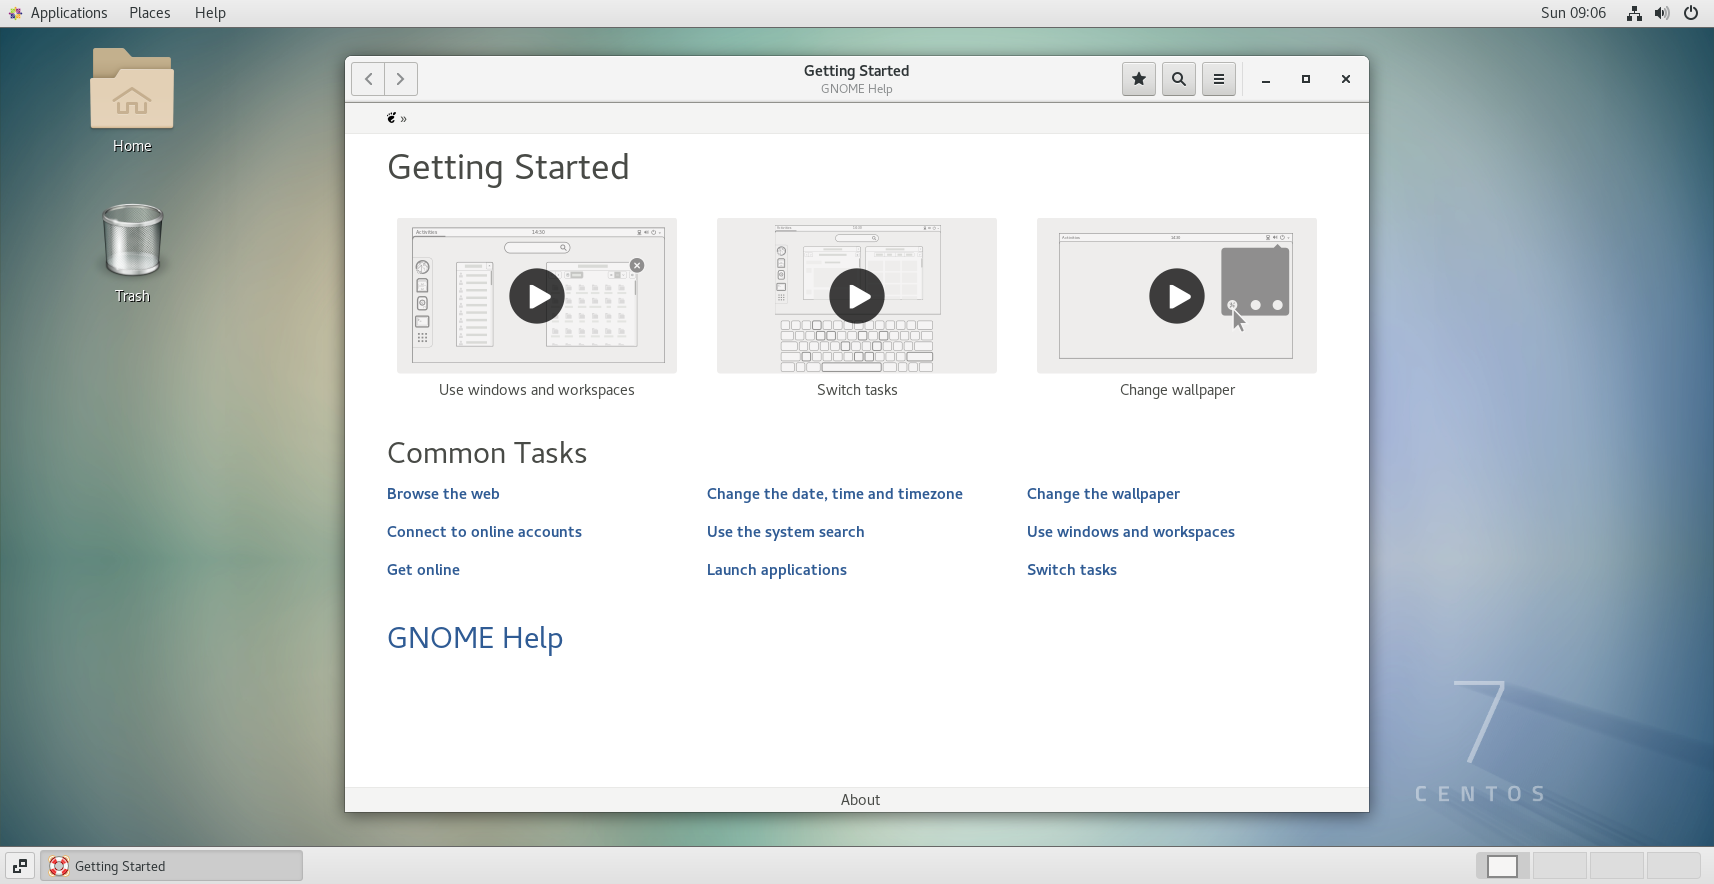
关闭弹出的“Getting Started”窗口。
正式安装CentOS 7.9
安装Cadence IC617
配置 yum 源
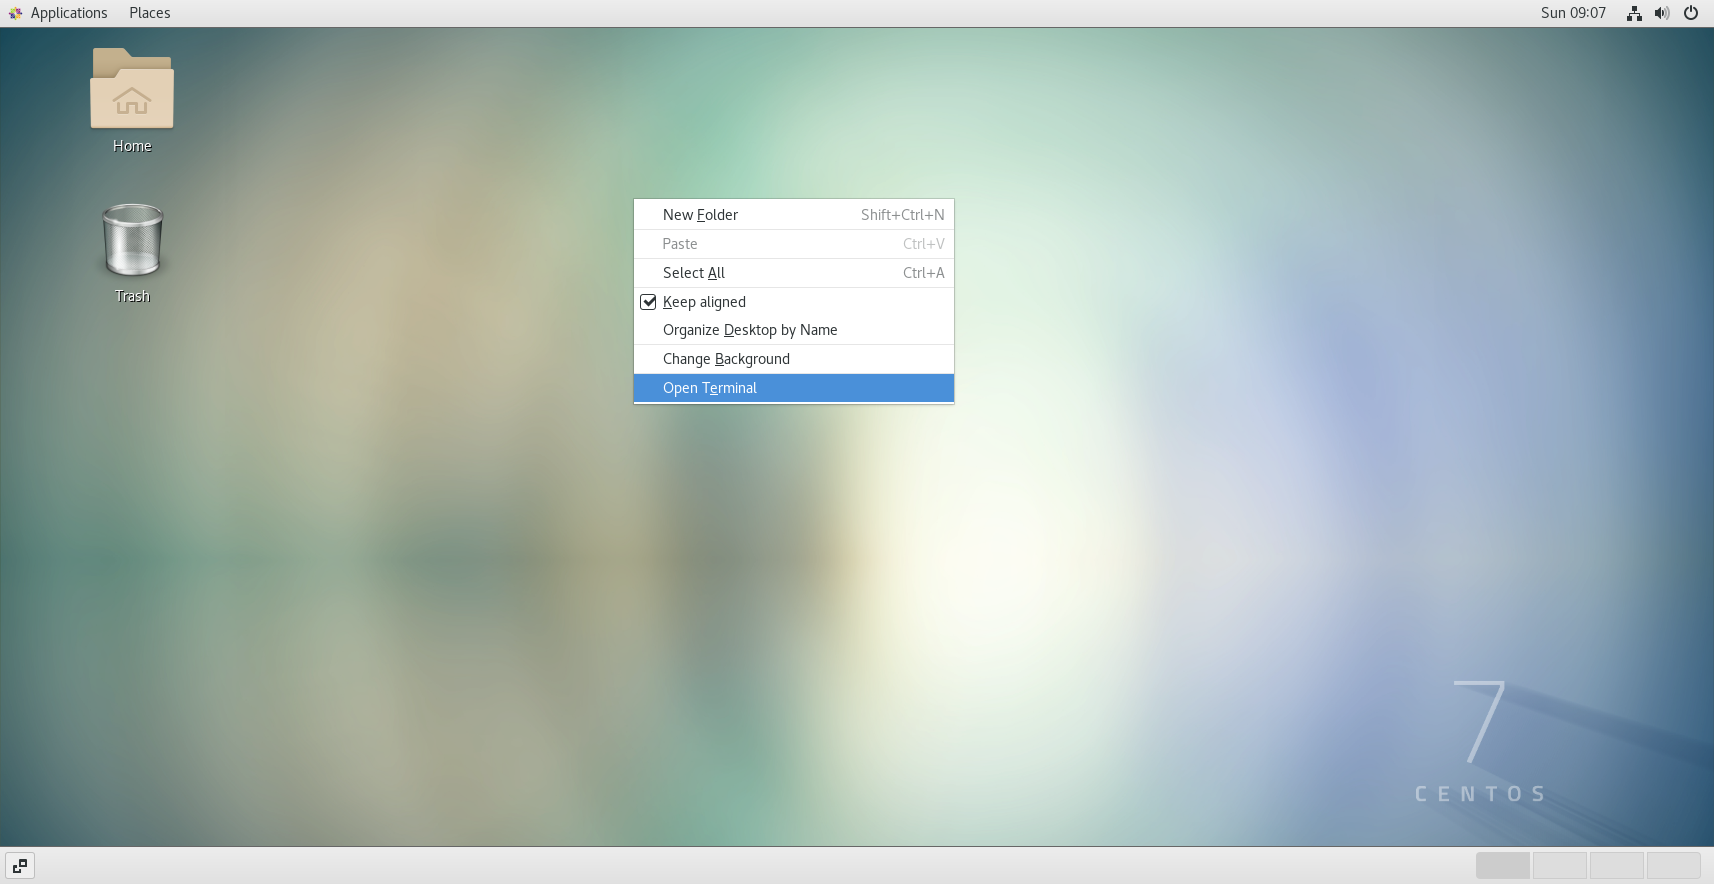
在桌面空白处右键,选择“Open Terminal”。
配置 yum 源
在终端输入su,按下回车键(每次输入完命令后均需要按下回车键)。
输入icdesign,按下回车键。
在终端输入 cp /etc/yum.repos.d/CentOS-Base.repo /etc/yum.repos.d/CentOS-Base.repo.backup 备份现有 yum 源。
在终端输入 wget -O /etc/yum.repos.d/CentOS-Base.repo http://mirrors.aliyun.com/repo/Centos-7.repo 下载阿里云的 yum 源。
在终端输入 yum clean all,清空 yum 缓存。
在终端输入 yum makecache,重建 yum 缓存。
| |
安装支持库
在终端输入,yum install -y ksh,当看到“Complete!”时表示安装完成,如果看到“Nothing to do”则表示已安装了该支持库,无需再次安装。
| |
在终端输入,yum install -y libXext.so.6。
在终端输入,yum install -y libXtst.so.6。
在终端输入,yum install -y libXt.so.6。
在终端输入,yum install -y libGLU.so.1 --setopt=protected_multilib=false。
在终端输入,yum install -y libelf.so.1。
在终端输入,yum install -y libXrender.so.1。
在终端输入,yum install -y libXp.so.6。
在终端输入,yum install -y libXrandr.so.2。
在终端输入,yum install -y *xorg*。
在终端输入,yum install -y libXp。
在终端输入,yum install -y ld-linux.so.2。
在终端输入,yum install -y openmotif。
在终端输入,yum install -y libstdc++.so.5。
在终端输入,yum install -y xterm。
在终端输入,yum install -y gcc gcc-c++ ksh csh libXp *xorg-X11-fonts* compat-libstdc++-33.i686,此处*xorg-X11-fonts*会提示No package available,可忽略。
在终端输入,yum install -y alliance-libs alliance glibc-2.12-1.107.el6.i686 glibc-devel.i686 glibc,此处alliance-libs、alliance、glibc-2.12-1.107.el6.i686会提示No package available,可忽略。
在终端输入,yum install -y compat-readline5-5.2-17.1.el6.i686,此处会提示No package available,可忽略。
在终端输入,yum install -y xterm-253-1,此处会提示No package available,可忽略。
在终端输入,yum install -y mesa-libGLU。
配置软链接
在终端输入,ln -s /usr/bin/awk /bin/awk。
在终端输入,ln -s /usr/lib/libstdc++-3-libc6.2-2-2.10.0.so /usr/lib/libstdc++-libc6.1-1.so.2。
在终端输入,ln -s /bin/gunzip /bin/uncompress。
在终端输入,cd /lib64。
在终端输入,ln -s libreadline.so.6 libreadline.so.5。
在终端输入,cd /usr/lib64。
在终端输入,ln -s libhistory.so.6 libhistory.so.5。
在终端输入,chmod 755 /usr/tmp。
| |
配置回环地址
在终端输入,hostnamectl set-hostname ICDesign。
在终端输入,vim /etc/hosts,在打开的文件中按下 i,并在最后一行添加 127.0.0.1 ICDesign,按下 ESC 后,输入 :x 保存。
| |
在终端输入,yum update,中途会提示 Is this ok [y/d/N]:,输入 y 后,按下回车。
在终端输入,reboot,重启虚拟机。
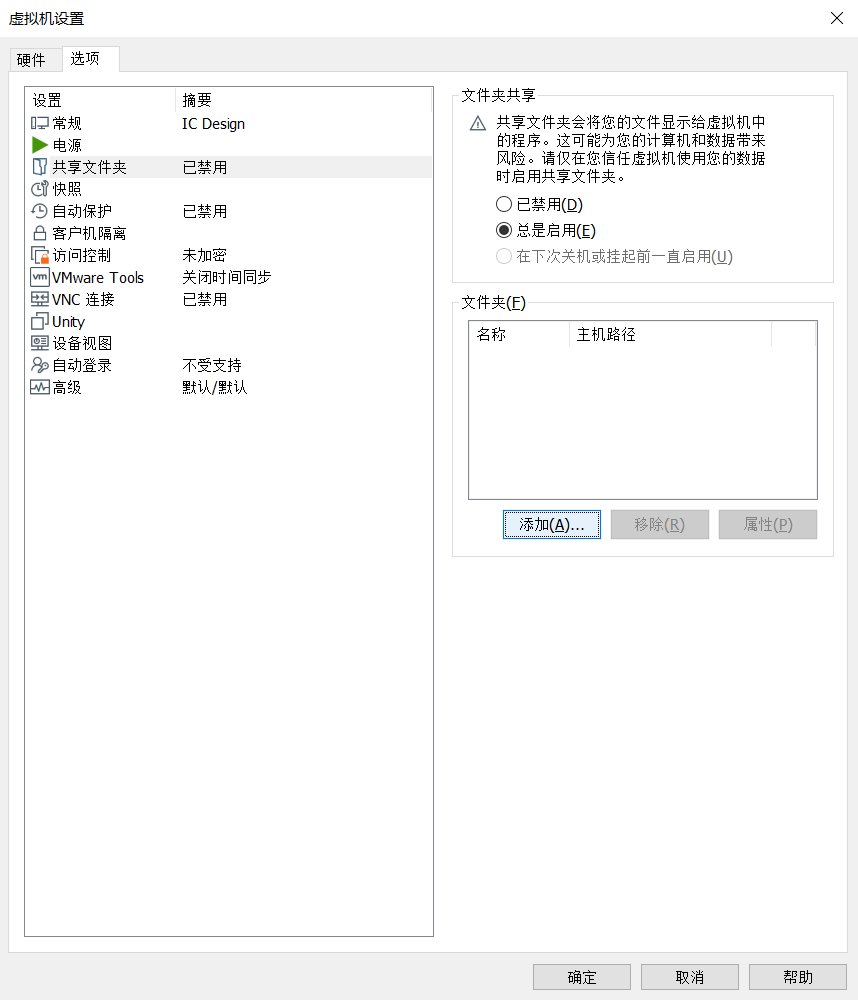
配置共享文件夹
关闭虚拟机,单击“编辑虚拟机配置”,在“选项”选项卡内,选择“共享文件夹”项,勾选“总是启用”,单击“添加”。
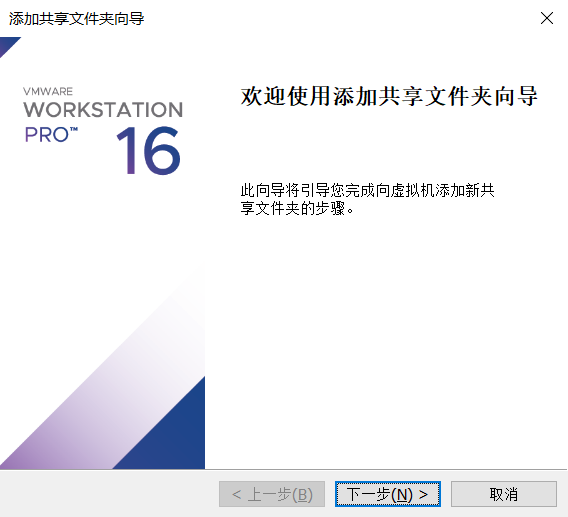
配置共享文件夹
单击“下一步”。
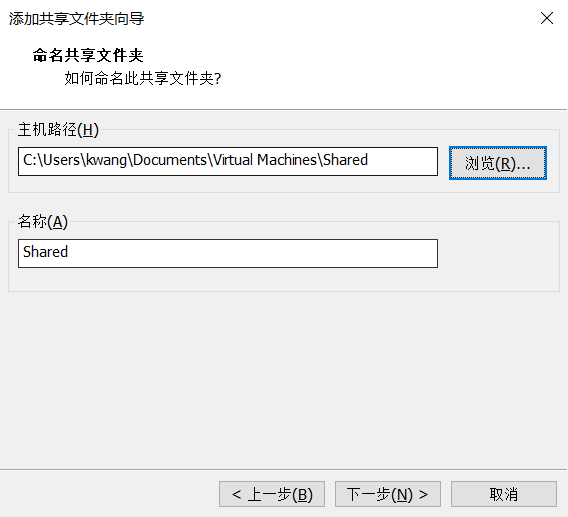
配置共享文件夹
根据系统情况,设置“主机路径”,并将“名称”设置为“Shared",单击“下一步”。
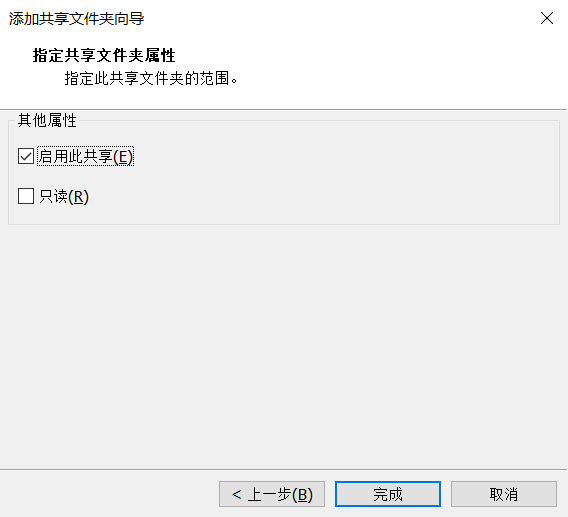
配置共享文件夹
此处保留默认设置,单击“完成”。
配置共享文件夹
单击“确认”。
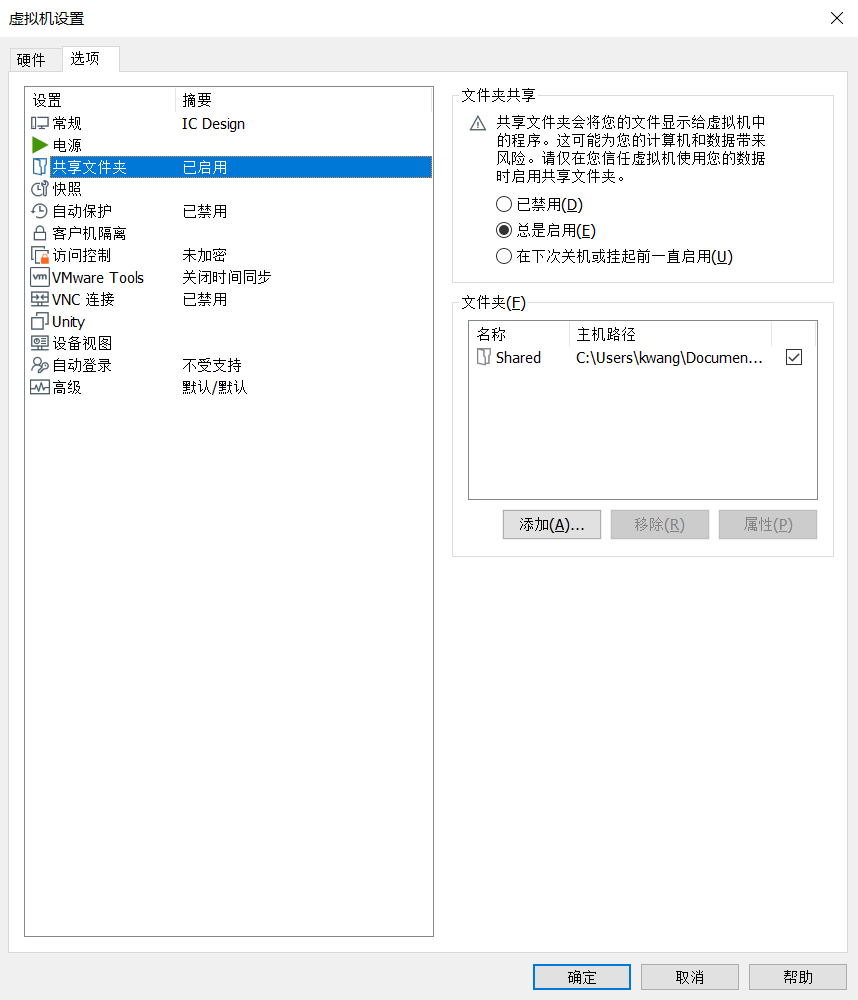
配置共享文件夹
安装 InstallScape
接着,将压缩包内 Cadence/IScape04.23-s010lnx86.t.Z 文件复制到刚刚建立的共享文件夹目录下。
开启虚拟机后打开终端,并进入 root 账户,输入 vmware-hgfsclient,返回 Shared 即为我们刚刚建立的共享文件夹名称。
在终端输入 vmhgfs-fuse .host:/Shared /mnt/hgfs,手动挂载共享文件夹。
| |
在终端输入 mkdir -p /TOOLS/Cadence/InstallScape 和 mkdir -p /TOOLS/Mentor/Calibre2015 建立安装目录。
在终端输入 cp /mnt/hgfs/IScape04.23-s010lnx86.t.Z /TOOLS/Cadence/InstallScape 将 InstallScape 安装包拷贝至 /TOOLS/Cadence/InstallScape 文件夹内。
在终端输入 cd /TOOLS/Cadence/InstallScape。
在终端输入 zcat IScape04.23-s010lnx86.t.Z | tar -xvf-,解压 IScape04.23-s010lnx86.t.Z 文件。
在终端输入 rm IScape04.23-s010lnx86.t.Z,删除压缩包。
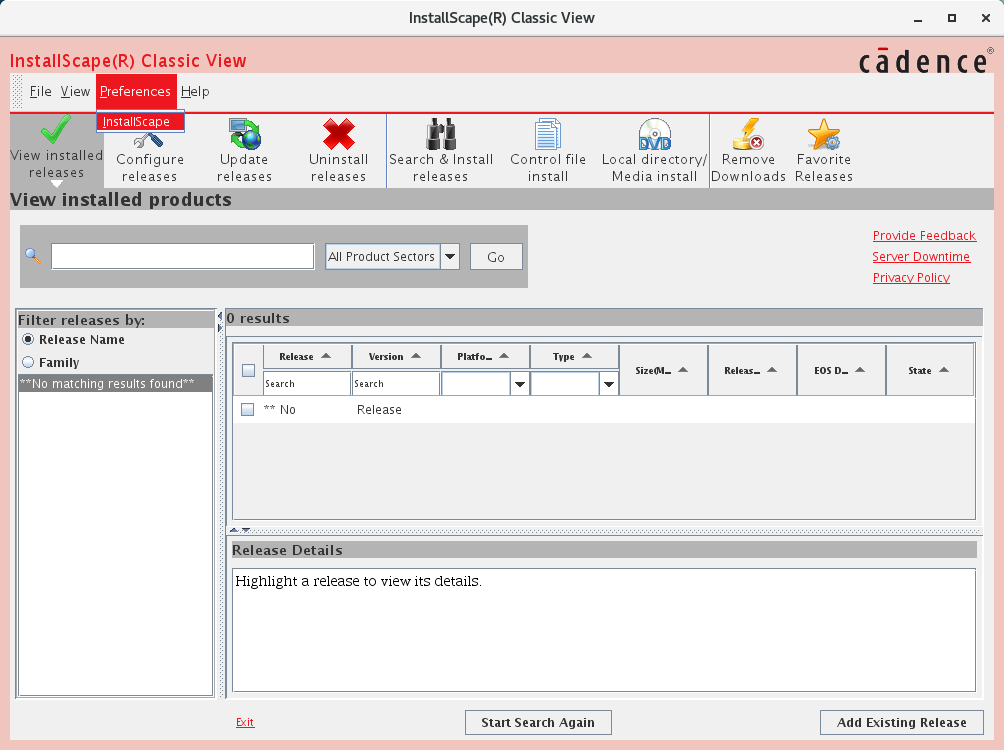
在终端输入 sh ./iscape/bin/iscape.sh,打开 InstallScape 软件,并单击“Preferences”菜单栏中的“InstallScape”项。
安装 InstallScape
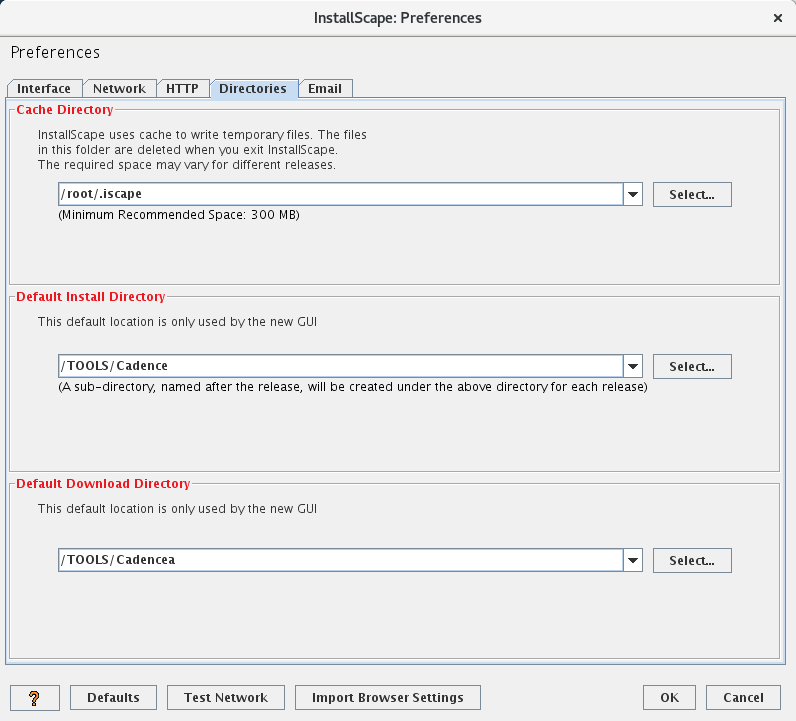
切换到“Directories”选项卡,将“Default Install Directory”和“Default Download Directory”均设置为“/TOOLS/Cadence”,单击“OK”。
安装 InstallScape
安装 IC617
将 Cadence/IC06.17.700_Base.7z 解压到共享文件夹。
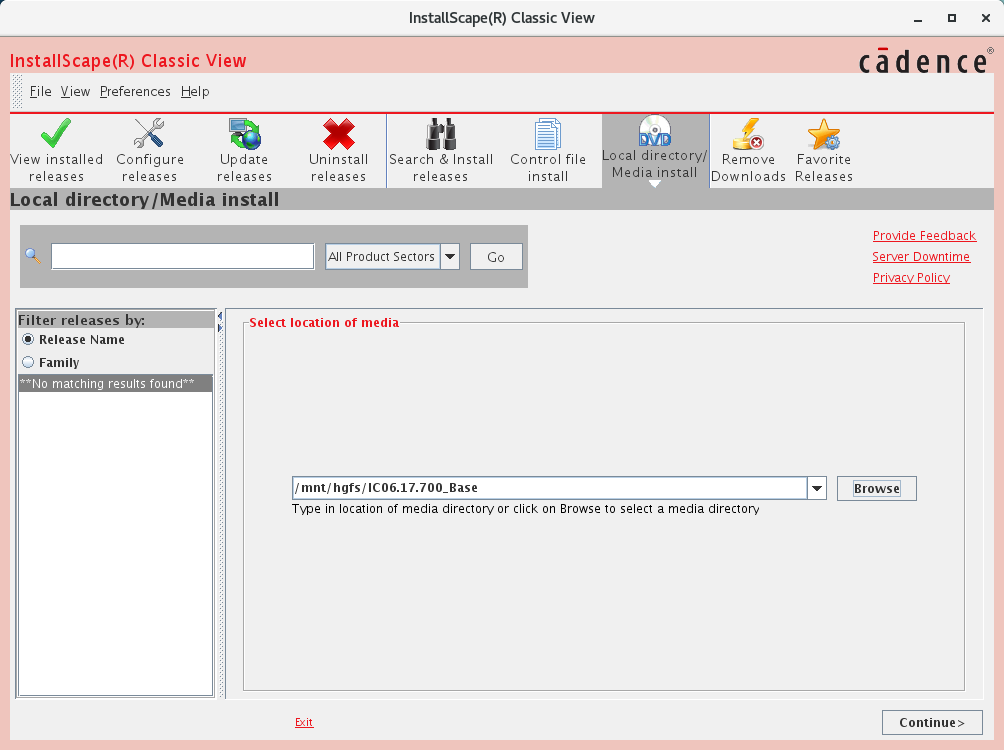
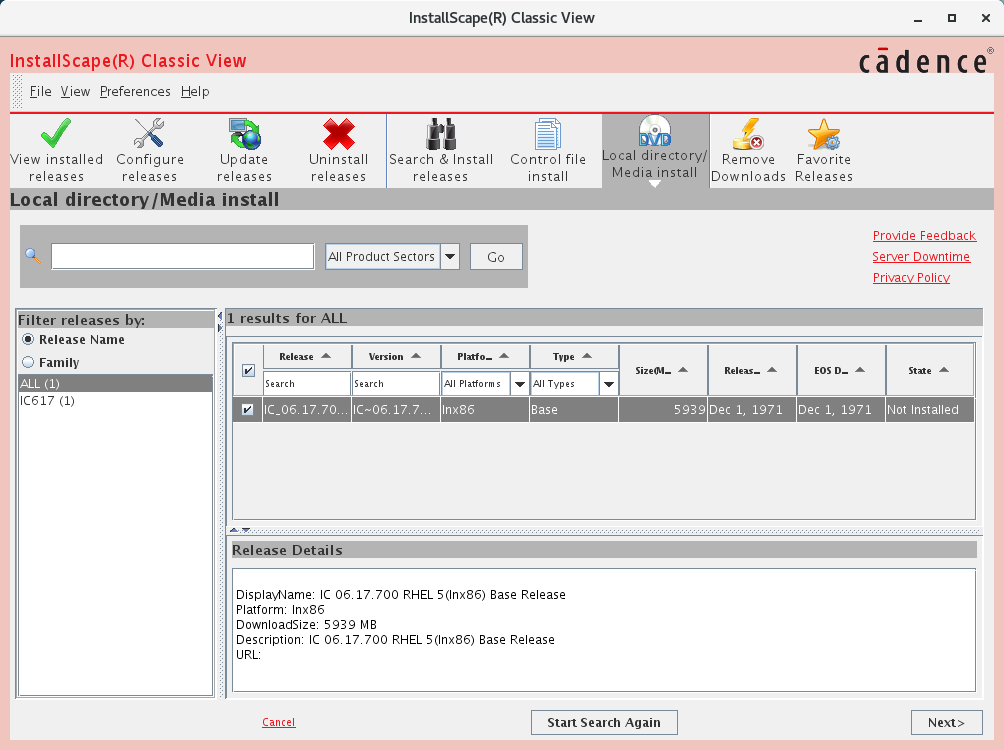
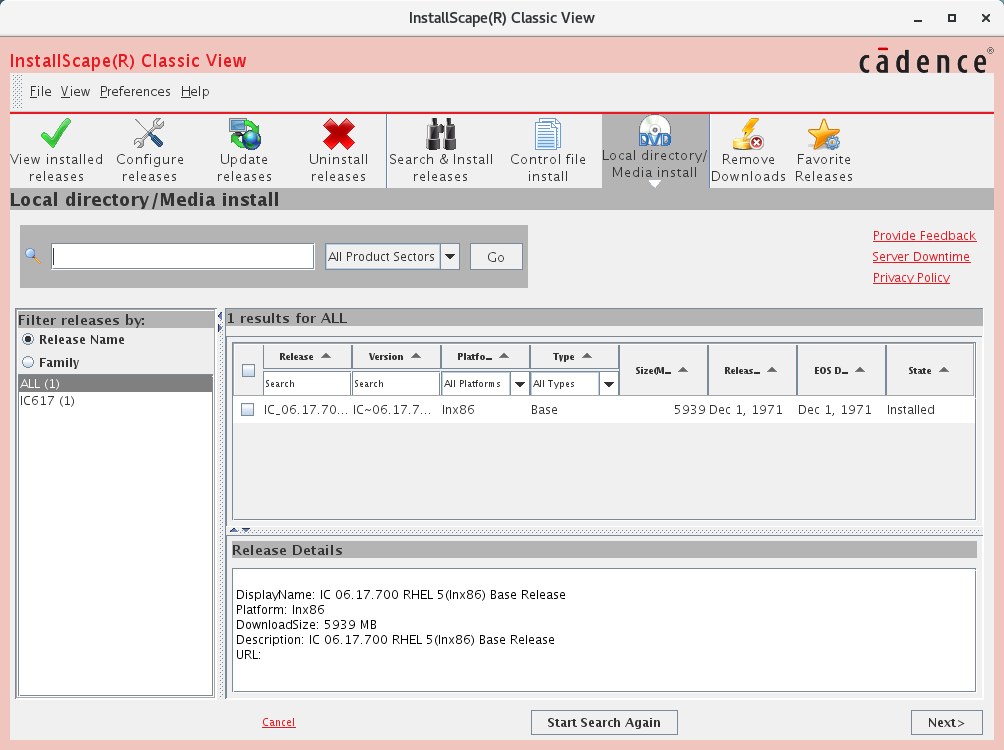
切换到“Local directory/Media Install”,单击“Browser”,选择 /mnt/hgfs/IC06.17.700_Base,单击“Continue”。
安装 IC617
勾选“1 results for ALL”列表中的项目,单击“Next”。
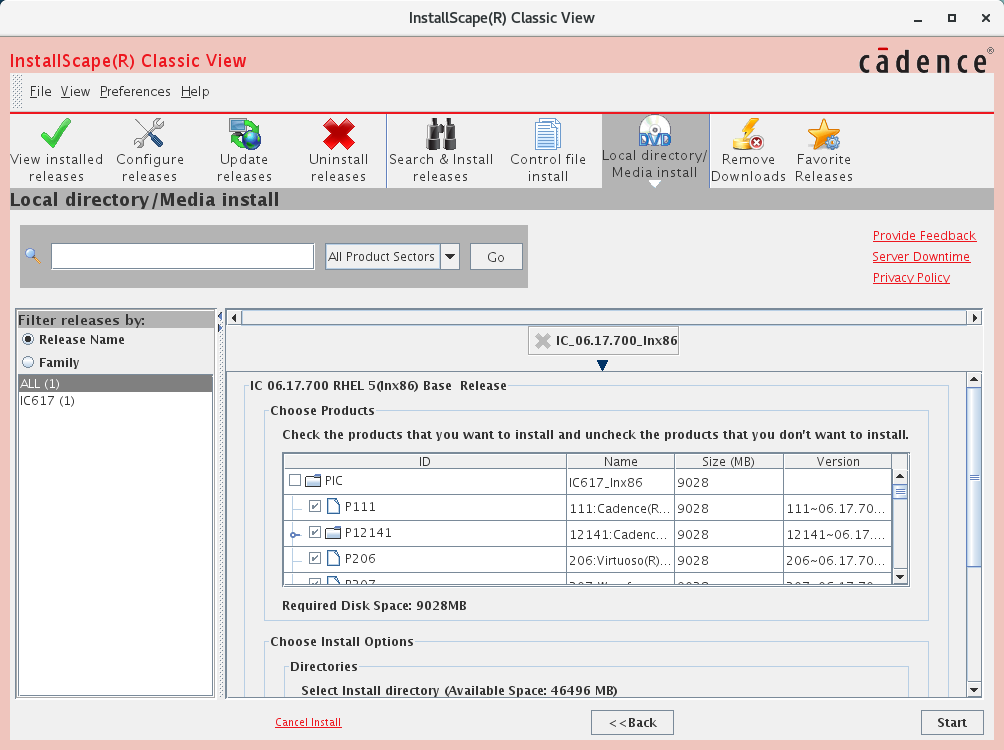
安装 IC617
单击“Start”。
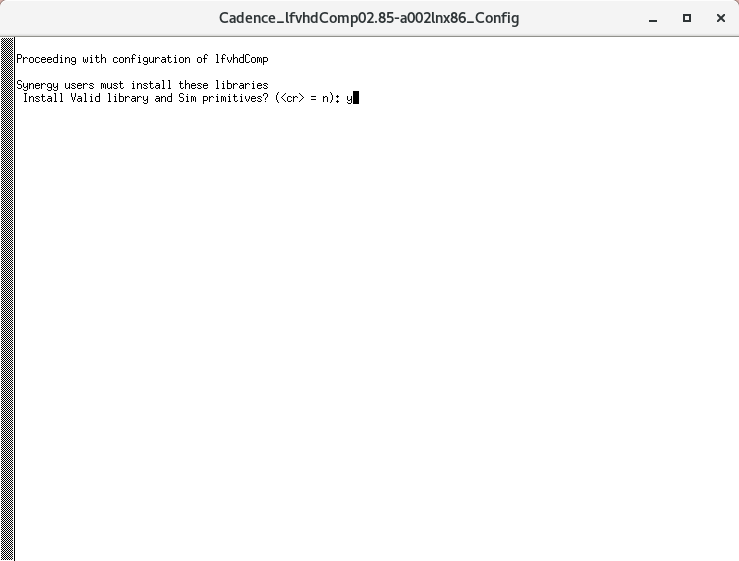
安装 IC617
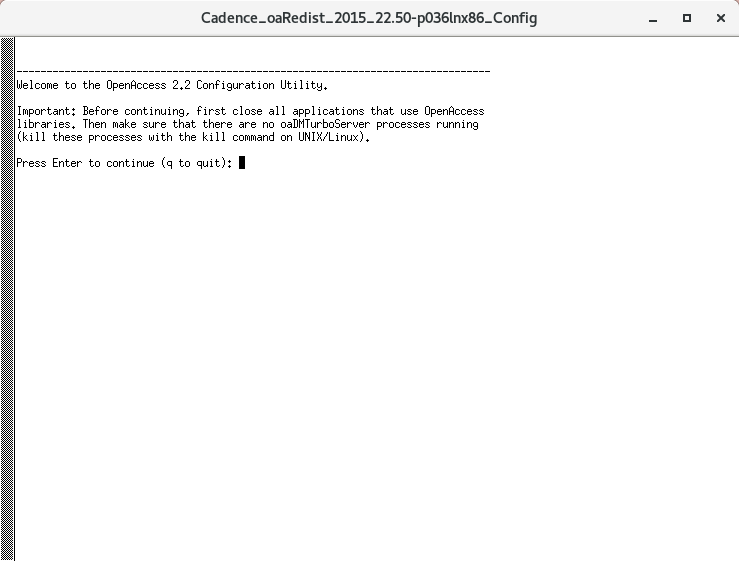
稍等片刻,将会弹出多个对话框,直到弹出下面的对话框时,输入 y,按下回车键。
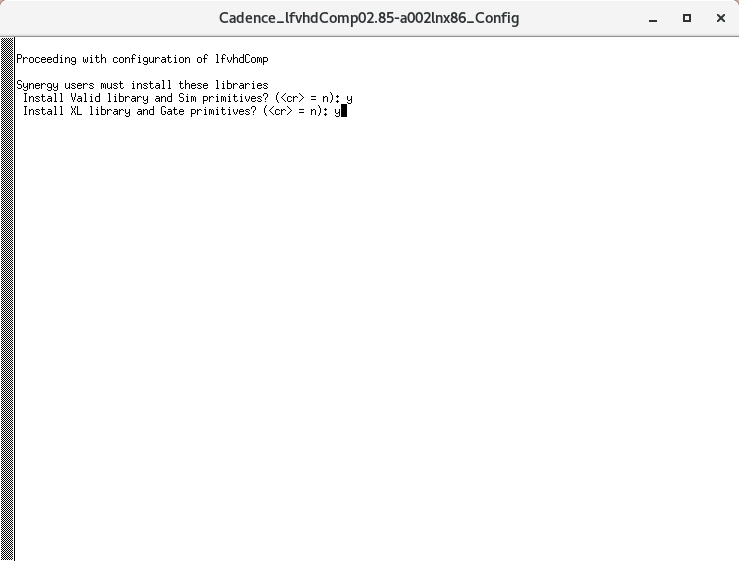
安装 IC617
输入 y,按下回车键。
安装 IC617
输入 2,按下回车键。
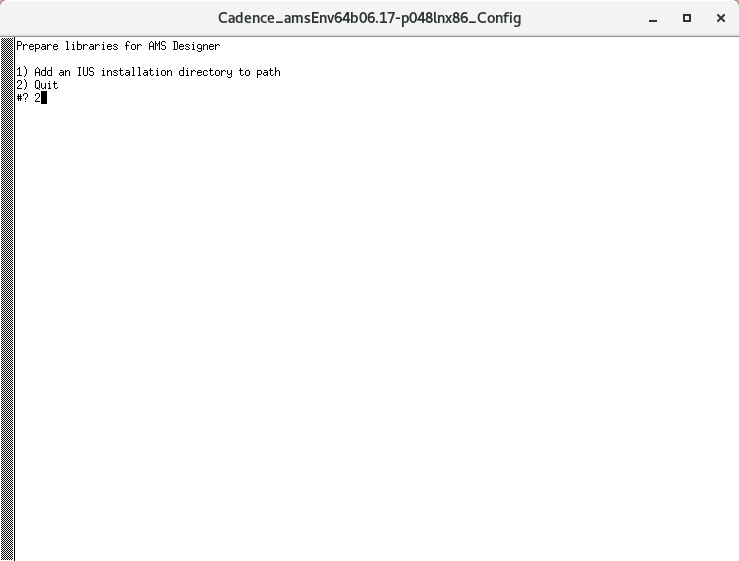
安装 IC617
按下回车键。
安装 IC617
输入 n,按下回车键。
安装 IC617
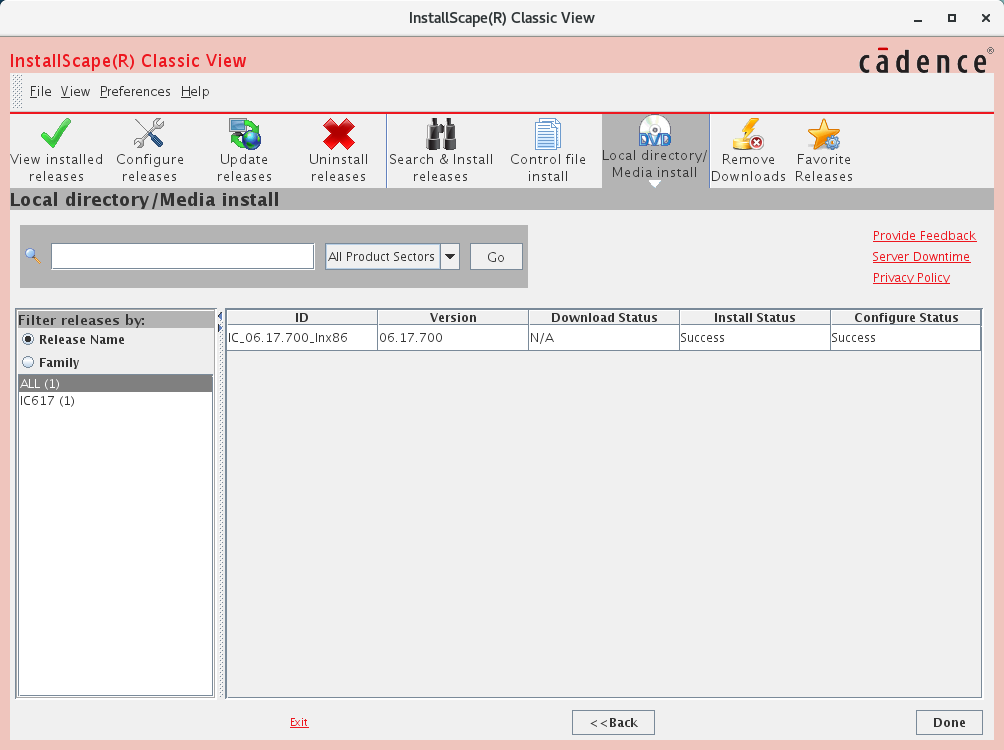
单击“Done”。
安装 IC617
单击“Cancel”
安装 IC617
安装 MMSIM151
将 Cadence/MMSIM15.10.284_Hotfix.7z 解压到共享文件夹。
单击“Browser”,选择 /mnt/hgfs/MMSIM15.10.284_Hotfix,单击“Continue”。

安装 MMSIM151
勾选“1 results for ALL”列表中的项目,单击“Next”。
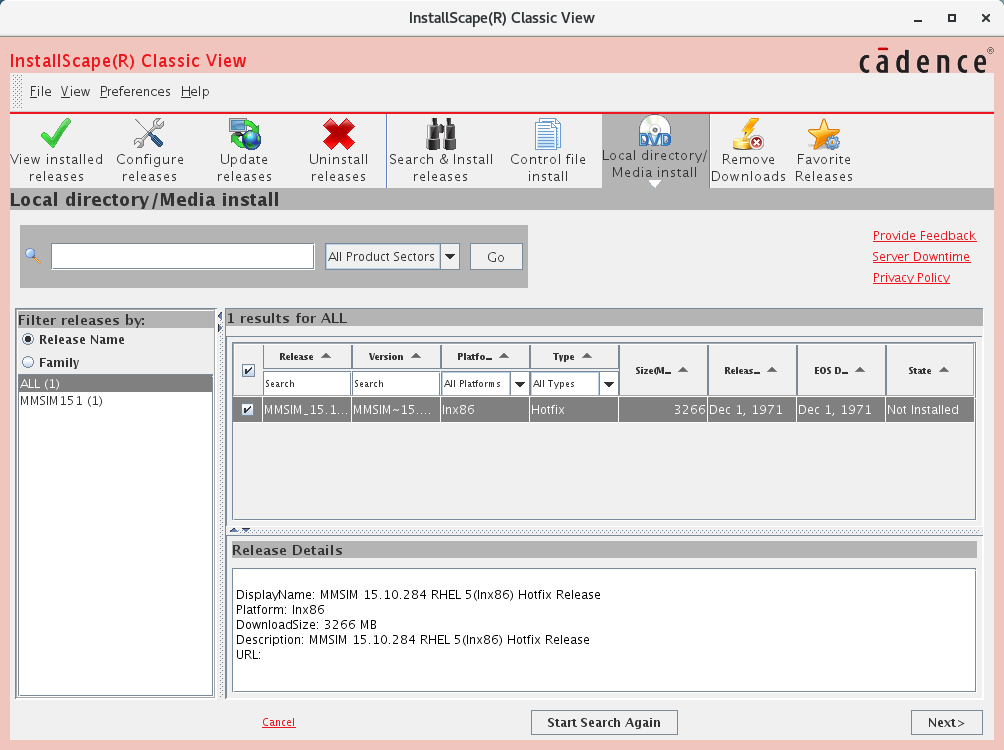
安装 MMSIM151
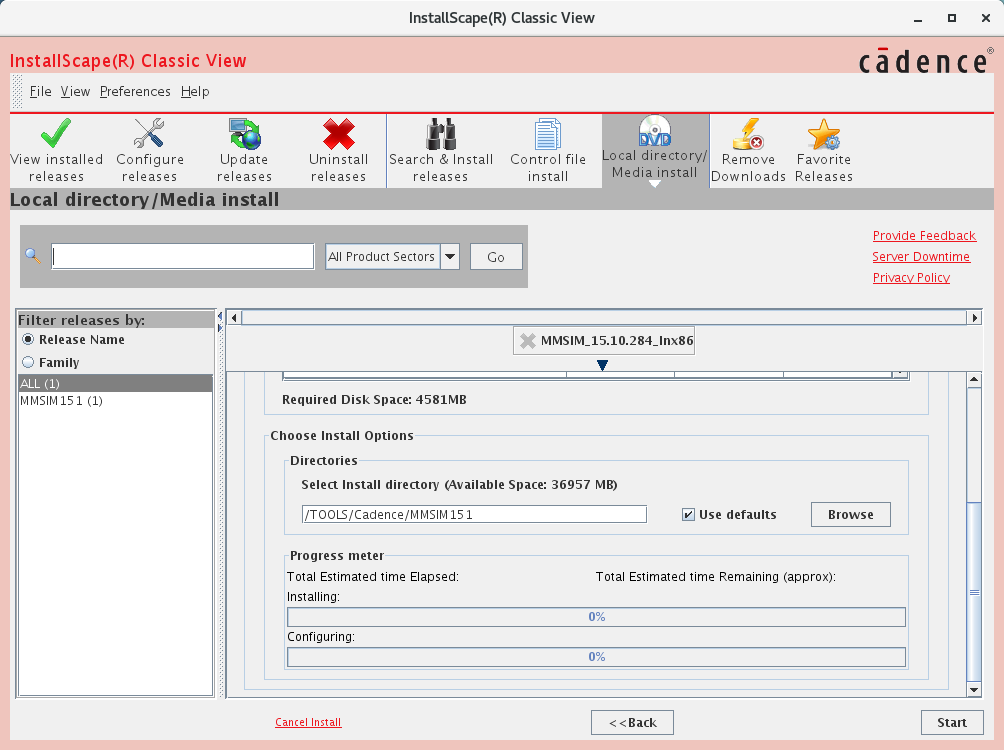
单击“Start”。
安装 MMSIM151
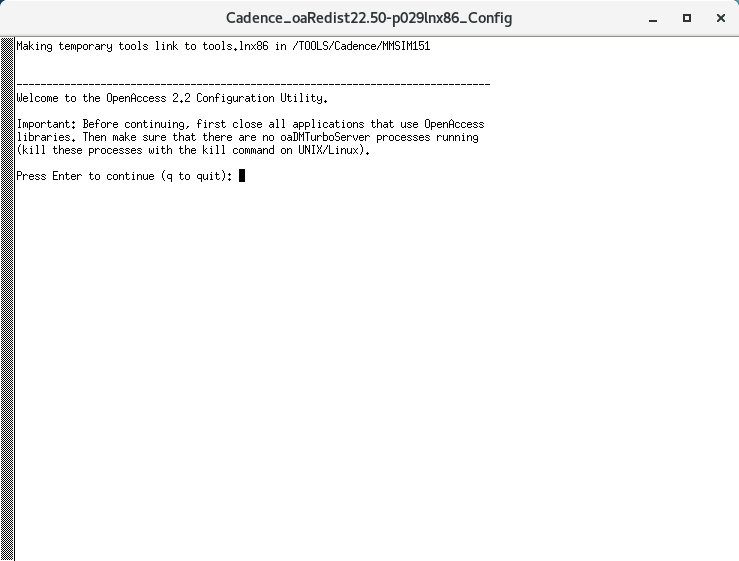
稍等片刻,在弹出的对话框中按下回车键。
安装 MMSIM151
输入 y,按下回车键。
安装 MMSIM151
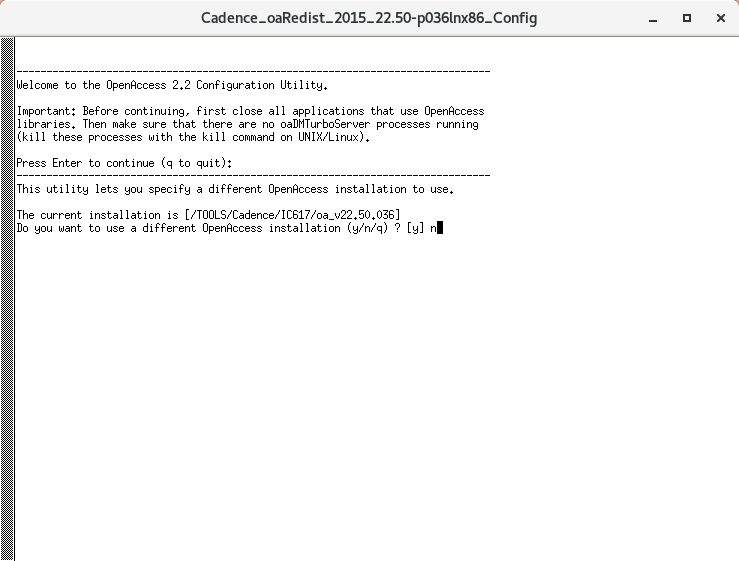
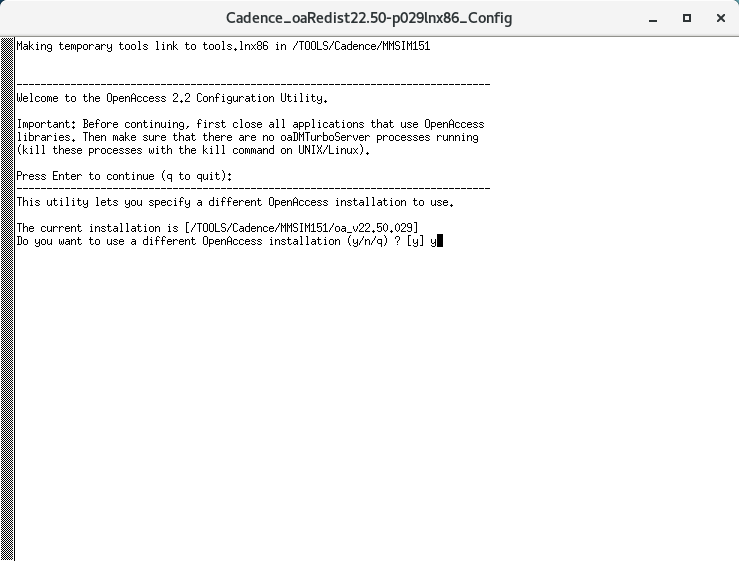
输入 /TOOLS/Cadence/IC617/oa_v22.50.036,按下回车键。
单击“Done”。

安装 MMSIM151
关闭 InstallScape。
在终端输入 rm IScape04.23-s010lnx86.t.Z,删除 InstallScap 压缩包,在弹出的提示后输入 y 并按下回车键。
| |
安装 Calibre
将 Cadence/aoi_cal_2015.2_36.27_mib.7z 解压到共享文件夹。
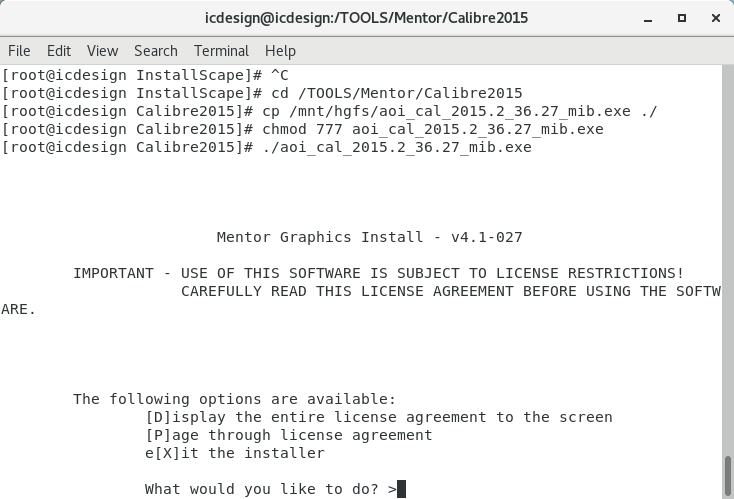
在终端输入 cd /TOOLS/Mentor/Calibre2015。
在终端输入 cp /mnt/hgfs/aoi_cal_2015.2_36.27_mib.exe ./。
在终端输入 chmod 777 aoi_cal_2015.2_36.27_mib.exe。
在终端输入 ./aoi_cal_2015.2_36.27_mib.exe。
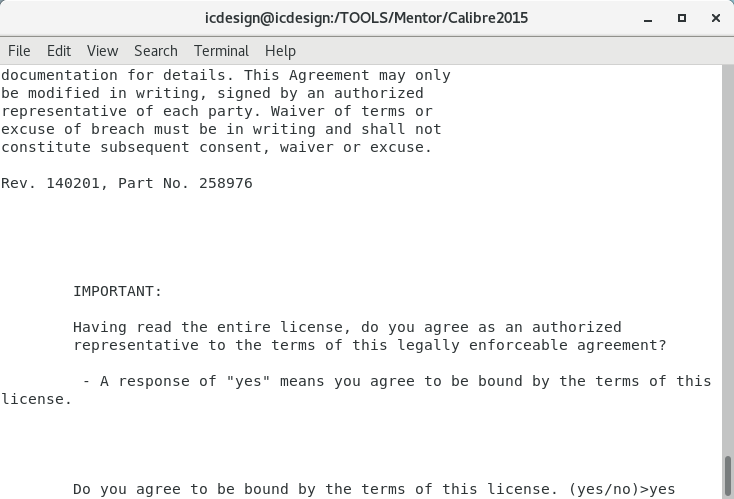
输入 D,按下回车键。
安装 Calibre
输入 yes,按下回车键。
安装 Calibre
稍等片刻,提示安装完成。
在终端输入 rm aoi_cal_2015.2_36.27_mib.exe,在弹出的提示后输入 y 并按下回车键。
安装补丁
将 Cadence/Patch.7z 解压到共享文件夹。
在终端输入 cd /mnt/hgfs/Patch/Cadence/。
在终端输入 ./cadence_patch.sh /TOOLS/Cadence/IC617。
在终端输入 ./cadence_patch.sh /TOOLS/Cadence/MMSIM151。
在终端输入 cd /TOOLS/Mentor/Calibre2015。
在终端输入 cp /mnt/hgfs/Patch/Calibre/patch_calibre ./。
在终端输入 cp /mnt/hgfs/Patch/Calibre/sfk ./。
在终端输入 ./patch_calibre aoi_cal_2015.2_36.27,此处会有个别 Error,可以直接忽略。
在终端输入 rm .patch_calibre sfk,在弹出的提示后输入 y 并按下回车键。
配置 License
将 Cadence/License.7z 解压到共享文件夹。
在本地计算机上双击 Cadence/License/Cadence/licgen.bat,生成 license.dat。
右击 license.dat,选择“打开方式”,选择“记事本”,单击“确定”。打开后,将前四行删去后保存。
配置 License
在虚拟机终端中输入 ifconfig,找到连接网络的 MAC 地址,此处为 ether 00:0c:29:06:6e:62,由此得到 HOSTID 为 000c29066e62。
| |
在本地计算机上用记事本打开 Cadence/License/Calibre/licgen.bat,将 HOSTID 改为 000c29066e62,保存并关闭。
双击运行 Cadence/License/Calibre/licgen.bat,生成 license.dat。
在虚拟机终端中输入 cp /mnt/hgfs/License/Cadence/license.dat /TOOLS/Cadence/IC617/share/license/license.dat。
在终端中输 入cp /mnt/hgfs/License/Calibre/license.dat /TOOLS/Mentor/Calibre2015/license.dat。
配置运行脚本
将 Cadence/Scripts.7z 解压到共享文件夹。
在终端中输入 cp /mnt/hgfs/Scripts/.bashrc /home/icdesign/,在弹出的提示后输入 y 并按下回车键。
在终端中输入 cp /mnt/hgfs/Scripts/.cdsinit /home/icdesign/。
在终端中输入 cd /home/icdesign/。
在终端中输入 vim .bashrc,按下 i 进入修改模式,找到下列内容并修改,并在最后一行添加 csh,修改完毕后按下 ESC,输入 :x 后保存并退出。
| |
在终端中输入 reboot,重启虚拟机。
配置 PDK
略。
启动 Virtuoso
首先确定好自己所需使用的工艺库,本虚拟机中有 XMC FL 65nm、SMIC 55nm 和 SMIC 0.18μm 三个工艺库。
XMC FL 65nm 工艺库
SMIC 55nm 工艺库
SMIC 0.18μm 工艺库
疑难解答
迁移虚拟机
将虚拟机的压缩包 IC Design.7z 解压到本地计算机 C:\Users\用户名\Documents\Virtual Machines\ 目录下。
打开 VMware Workstation Pro 16。
迁移虚拟机
单击“文件”菜单,选择“打开”,找到 C:\Users\用户名\Documents\Virtual Machines\IC Design\IC Design.vmx 文件,单击“打开”。
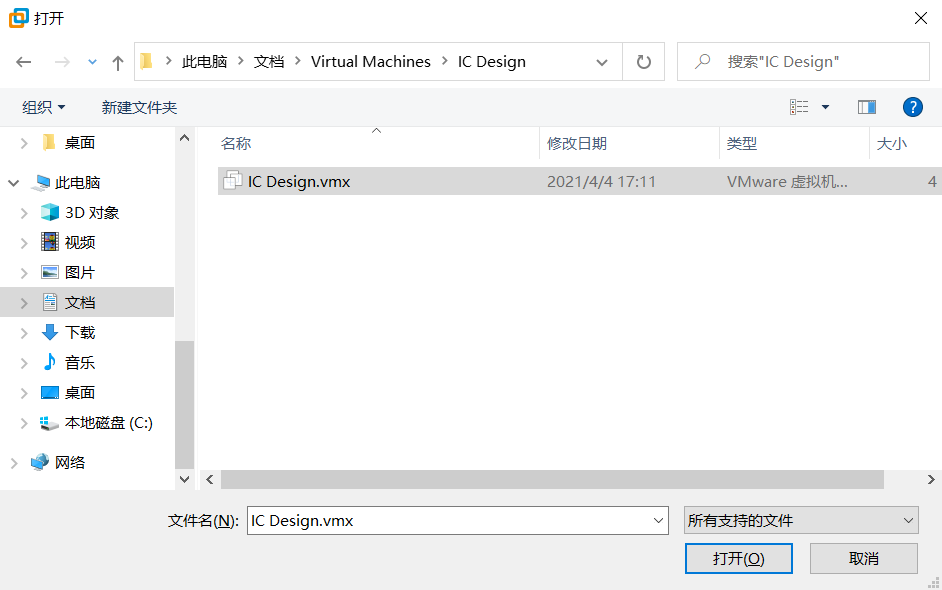
迁移虚拟机
此时可以看到,虚拟机“IC Design”已经打开,单击“开启此虚拟机”,即可打开该虚拟机。
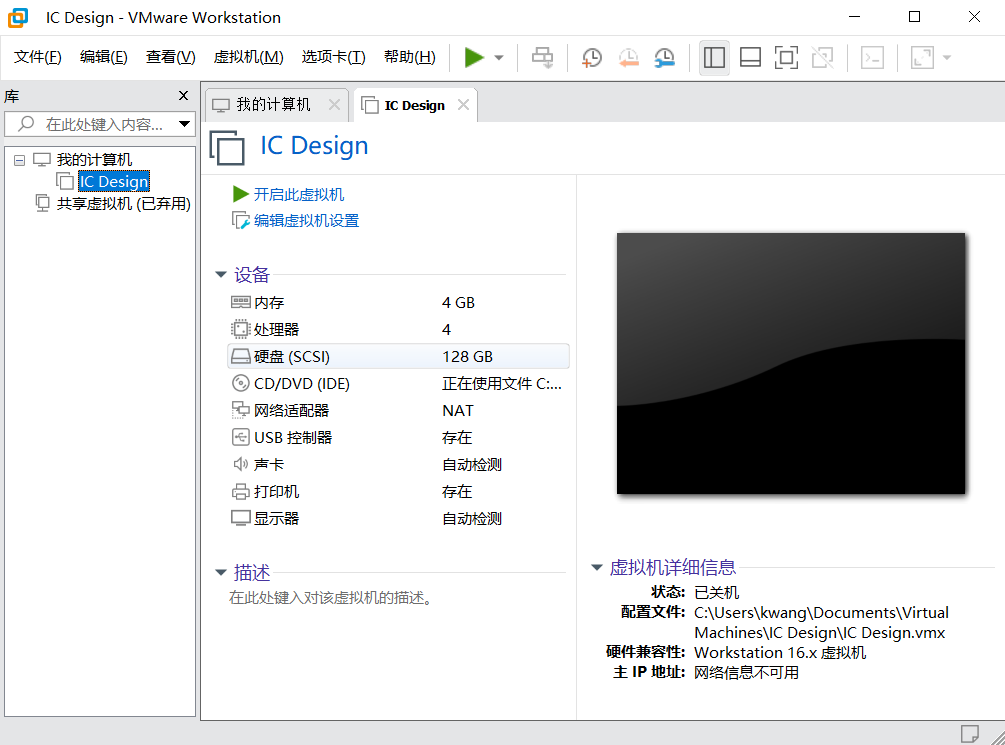
迁移虚拟机