首先,我们需要修改一下应用的图标。准备一个 png 格式的图标文件。如下图所示:

App 图标
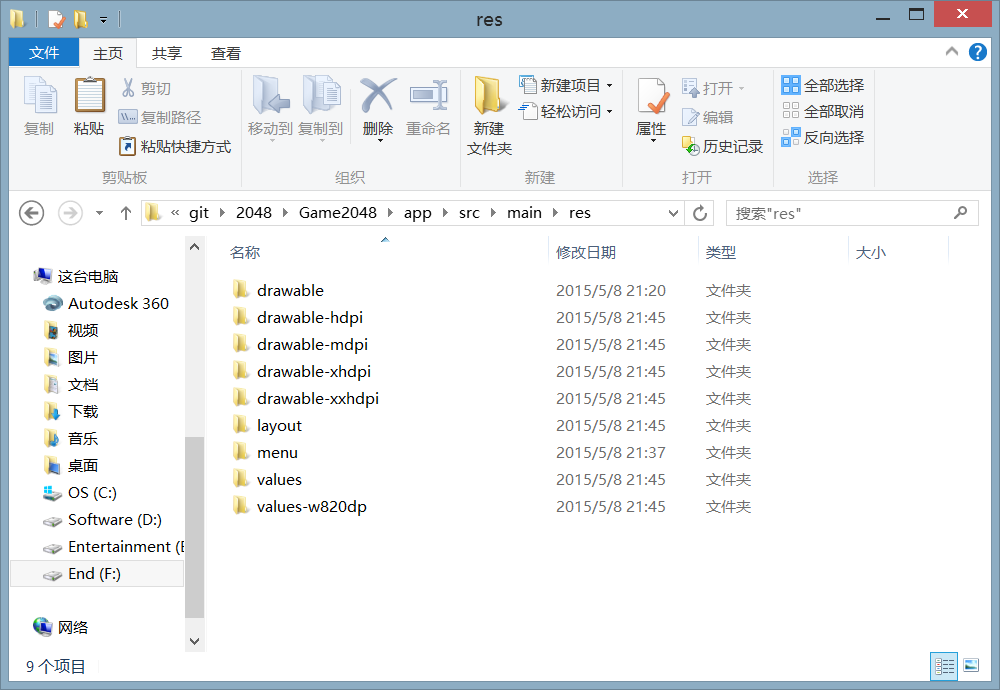
接下来,找到上一节中保存项目的位置,依次展开文件夹中的 2048/Game2048/app/src/main/res 目录,如下图所示:
App 图标
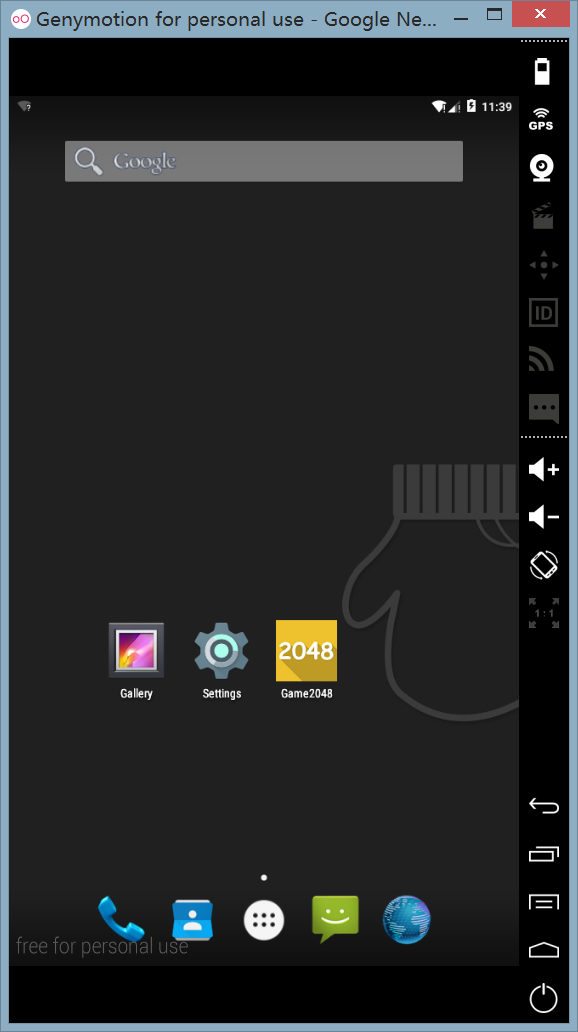
分别将刚才制作完成的图标文件更改名字为 ic_launcher.png,并且修改尺寸为 144×144、96×96、72×72、48×48,分别放入 drawable-xxhdip、drawable-xhdpi、drawable-hdpi、drawble-mdpi 文件夹覆盖其中的图标文件。需要用到这么多尺寸的图片,是由于 Android 应用程序需要兼容不同的客户端而引起的。接下来我们打开 Genymotion,并且运行我们的应用,可以发现图标已经被修改:
App 图标
接下来,我们修改游戏显示的名称,我们希望只显示数字“2048”,切换到 Android Studio 界面,在左侧找到 values/strings.xml,双击打开该文件,将其中的 app_name 属性修改为 2048 即可,如下图所示:
1
2
3
4
5
6
7
8
| <?xml version="1.0" encoding="utf-8" ?>
<resources>
<string name="app_name">2048</string>
<string name="hello_world">Hello world!</string>
<string name="action_settings">Settings</string>
</resources>
|
我们再次运行程序,即可发现应用名称已经被修改为“2048”,如下图所示:
App 名称
至此,我们已经完成了对该应用最基本的配置,接下来,我们需要创建最基本的游戏界面。
首先,打开 res/layout/activity_main.xml 文件,将右下角的 Design/Text 选项卡切换到 Text 界面,并且输入以下代码:
 1
 2
 3
 4
 5
 6
 7
 8
 9
10
11
12
13
14
15
16
17
18
19
20
21
22
23
24
25
26
27
28
29
30
31
| <?xml version="1.0" encoding="utf-8">
<LinearLayout xmlns:android="http://schemas.android.com/apk/res/android"
android:orientation="vertical"
android:layout_width="match_parent"
android:layout_height="match_parent">
<LinearLayout
android:layout_width="match_parent"
android:layout_height="match_parent"
android:orientation="horizontal">
<TextView
android:layout_width="wrap_content"
android:layout_height="wrap_content"
android:text="Score" />
<TextView
android:id="@+id/tvScore"
android:layout_width="wrap_content"
android:layout_height="wrap_content" />
</LinearLayout>
<GridLayout
android:id="@+id/gameView"
android:layout_width="fill_parent"
android:layout_height="0dp"
android:layout_weight="1">
<GridLayout>
</LinearLayout>
|
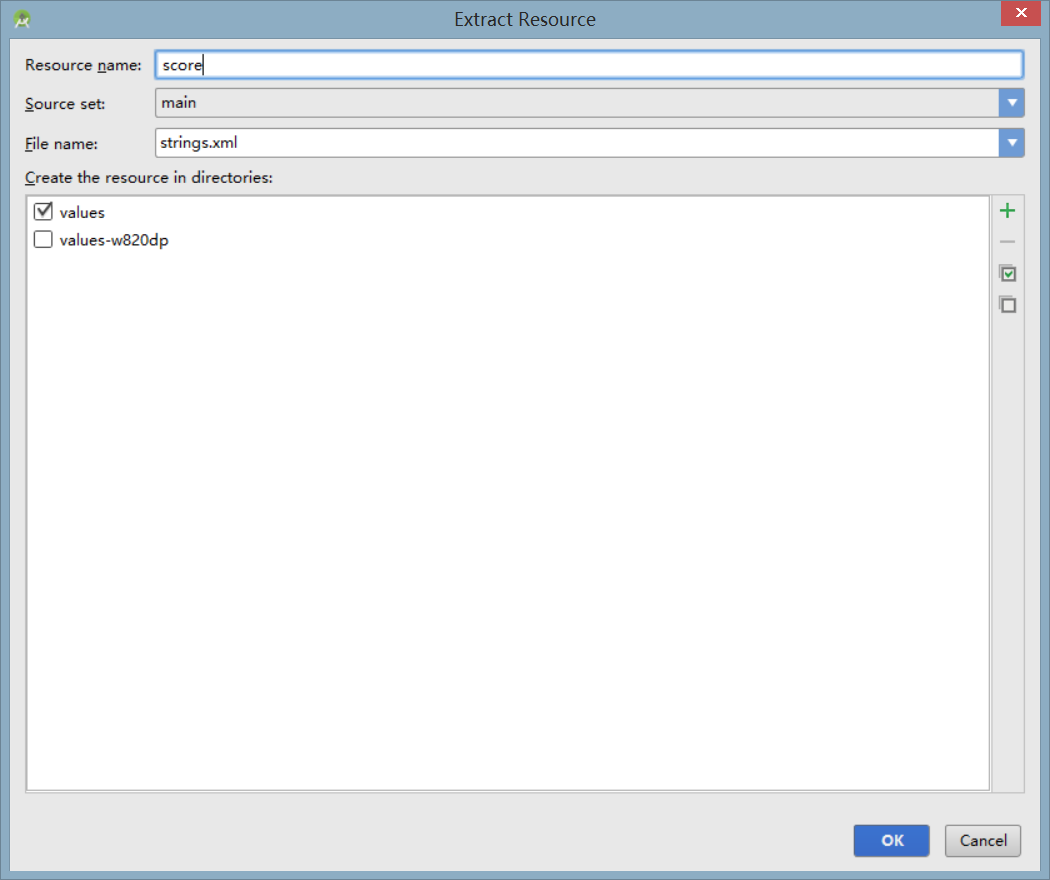
我们看到在 andorid:text=“Score” 这段代码被深黄色包裹了起来,说明有一些修改建议,单击到上面,按下 Alt + Enter,在弹出的对话框中选择 Extract string resource,弹出下图的对话框,在 Resource Name 中输入 score,单击 OK,如下图所示:
新建字符串
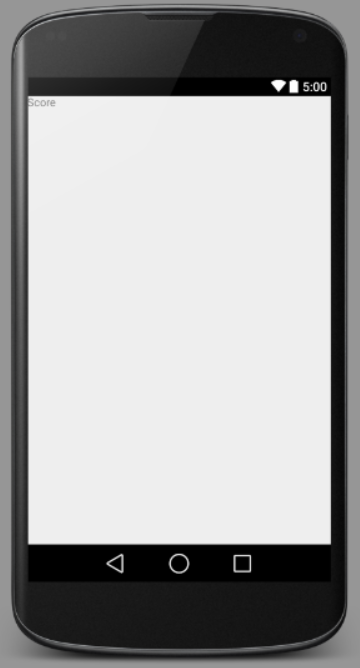
切换到 Design 界面,可以看到,刚才定义的 Score 标签已经显示了出来,如下图所示:
Score 标签
接下来,我们需要新建一个 GameView 类来保存游戏的布局,并使得它继承自 GridLayout。
首先,我们将 res 文件夹下的 layout 文件夹删除,因为我们需要自己绘制游戏界面,因此不需要用到 xml 布局文件。接下来我们需要创建一个新的类,用来显示当前的游戏界面。右击 com.ivy.end.game2048 文件夹,选择 New,单击 Java Class,输入类名 GameView,让 GameView 类继承自 GridLayout 类,并且定义它的构造函数,如下图所示:
 1
 2
 3
 4
 5
 6
 7
 8
 9
10
11
12
13
14
15
16
17
18
| package com.ivy.end.game2048;
import ...
public class GameView extends GridLayout {
public GameView(Context context) {
super(context);
}
public GameView(Context context, AttributeSet attrs) {
super(context, attrs);
}
public GameView(Context context, AttributeSet attrs, int defStyle) {
super(context, attrs, defStyle);
}
}
|
接下来,我们需要定义一个初始化函数 initGameView,并且使得通过这三个构造函数进入类中都执行初始化函数,修改代码如下图所示:
 1
 2
 3
 4
 5
 6
 7
 8
 9
10
11
12
13
14
15
16
17
18
19
20
21
22
| package com.ivy.end.game2048;
import ...
public class GameView extends GridLayout {
public GameView(Context context) {
super(context);
}
public GameView(Context context, AttributeSet attrs) {
super(context, attrs);
}
public GameView(Context context, AttributeSet attrs, int defStyle) {
super(context, attrs, defStyle);
}
private void initGameView() {
}
}
|
接下来,我们需要将这个类绑定到刚才的 GridLayout 上,切换到 activity_main.xml 文件的 Text 窗口,将 GridLayout 部分代码修改如下:
1
2
3
4
5
6
| <com.ivy.end.game2048.GameView
android:id="@+id/gameView"
android:layout_width="fill_parent"
android:layout_height="0dp"
android:layout_weight="1">
</com.ivy.end.game2048.GameView>
|
至此,我们的布局代码基本完成。运行以后的界面如下图所示:
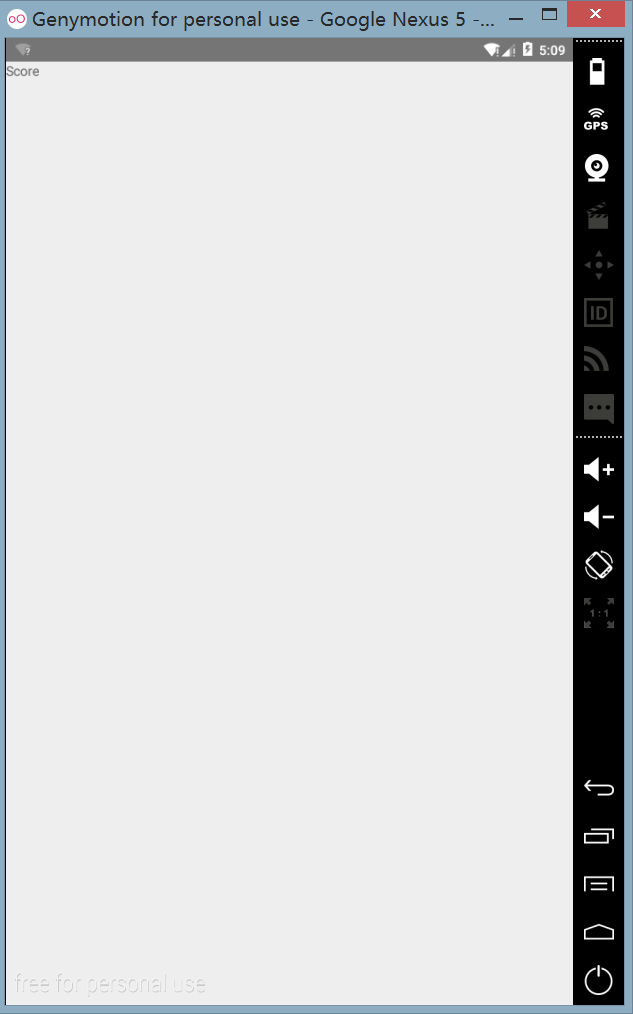
运行效果
下一节我们将介绍GameView的具体实现。